Devilishly Good Deviled Eggs

Devilishly Good Deviled Eggs
Jump to Recipe

One of my clearest food memories is of my Mom’s Deviled Eggs. I can still see the yellow Tupperware container with the special “egg holding” insert that she used. I wouldn’t say she made them all that often, but usually when you saw that Tupperware container come out, you knew there was a party or holiday meal about to happen!

Mom’s eggs were DELICIOUS. A little sweet and a little tangy, thanks in part to a “miraculous” mayonnaise style condiment that was pretty popular while I was growing up. It probably STILL IS popular with a lot of folks, but with its high fructose corn syrup, fragile and damaged oil and various thickeners and fillers, it’s not something that’s invited into my grocery cart anymore.

So I knew if I wanted to relive that childhood food memory, I’d have to ditch the processed stuff and create my own version. I think they are just as tasty as the one’s I remember eating growing up. Different, but just as good. Well, maybe ALMOST as good because does anything ever taste as good as what Mom made? It’s that “the secret ingredient is love” thing. Pretty sure.

The funny thing about deviled eggs is that they are one of the few foods that really don’t smell all that great (they ARE kinda stinky), but almost everyone loves when they show up at a get together! I’ve taken them to numerous shindigs (they are a great potluck item for those of us avoiding gluten or dairy). When I arrive, I uncover the deviled beauties while sheepishly mumbling an apology for the odor, only to be cut off with excited exclamations by fellow party goers! “Oooo deviled eggs! I haven’t had those in ages!” “Wow! I love these things! I never make them because they are so much work!”

Truth? They are REALLY easy to make. Yeah, they take a bit more effort than grabbing a veggie tray from the supermarket (which there is nothing wrong with, by the way), but they definitely give the impression you put a lot more work in than you did. That’s never a bad thing.

The hardest part of making deviled eggs is getting hard boiled eggs that you can peel easily. There’s not much worse than trying to peel an egg and ending up with something that looks like the dog chewed on it, full of gouges and holes. I’ve found that the Instant Pot makes perfectly peelable eggs EVERYTIME! Feel free to go old school on the stove top, if that’s your style. I have read that fresh eggs don’t peel as easily as older eggs. I’ve never had an issue with the Instant Pot, but if you are boiling on the stove top, maybe buy your eggs a week or so ahead of time.

Alright – enough chit chat! Let’s get to the good stuff! How to make these wickedly good little things!

First step is to boil (or pressure steam) those eggs. I’m going to run with the Instant Pot instructions here, but I have included stove top directions in the recipe card.

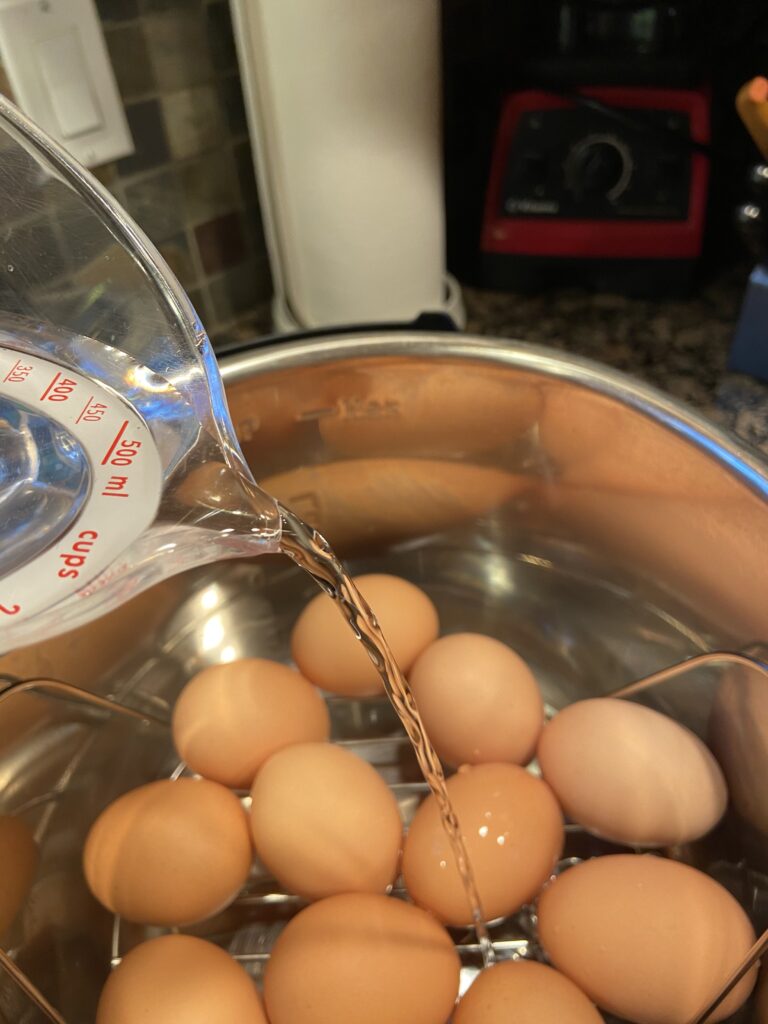
Place your eggs in a single layer on the trivet (rack) of your Instant Pot.

Add 1 cup of cold water to the pot. Place and lock the lid onto the instant pot.
Ensure that the venting dial is set to SEALING and set the timer to 6 minutes under HIGH pressure.
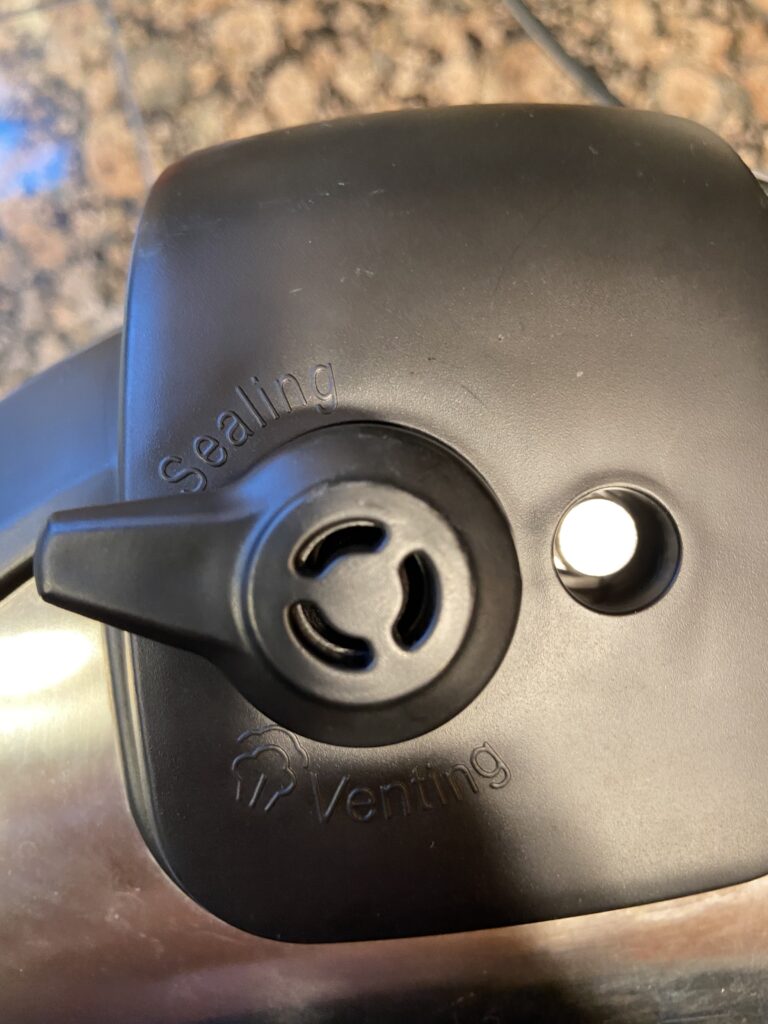
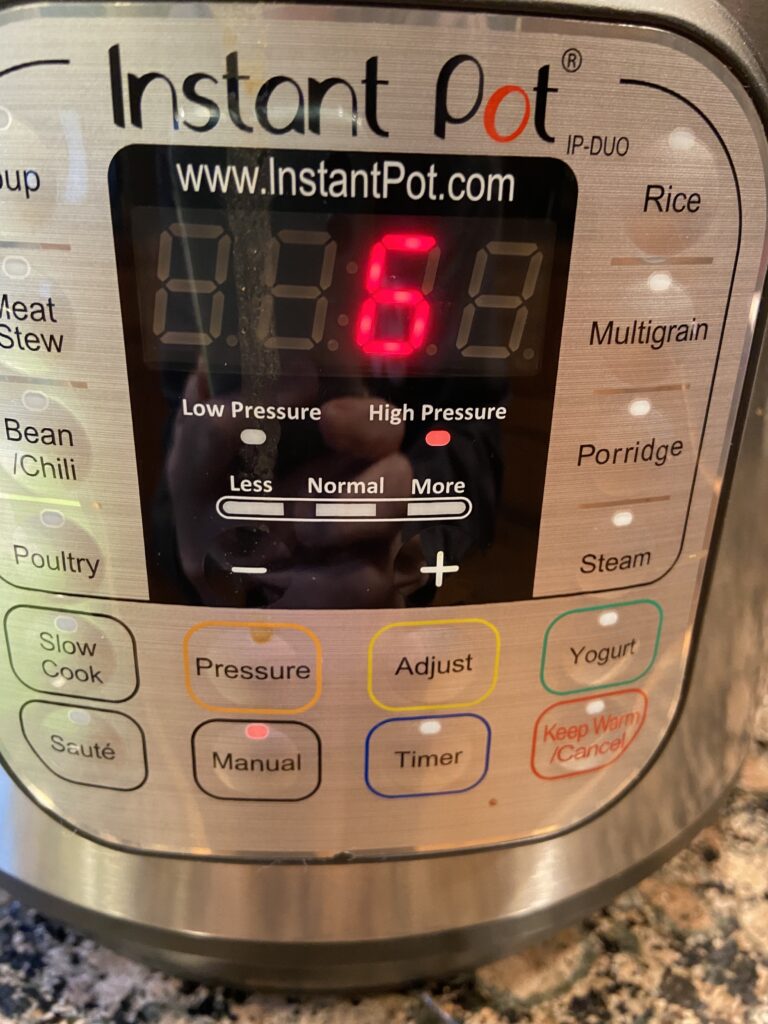
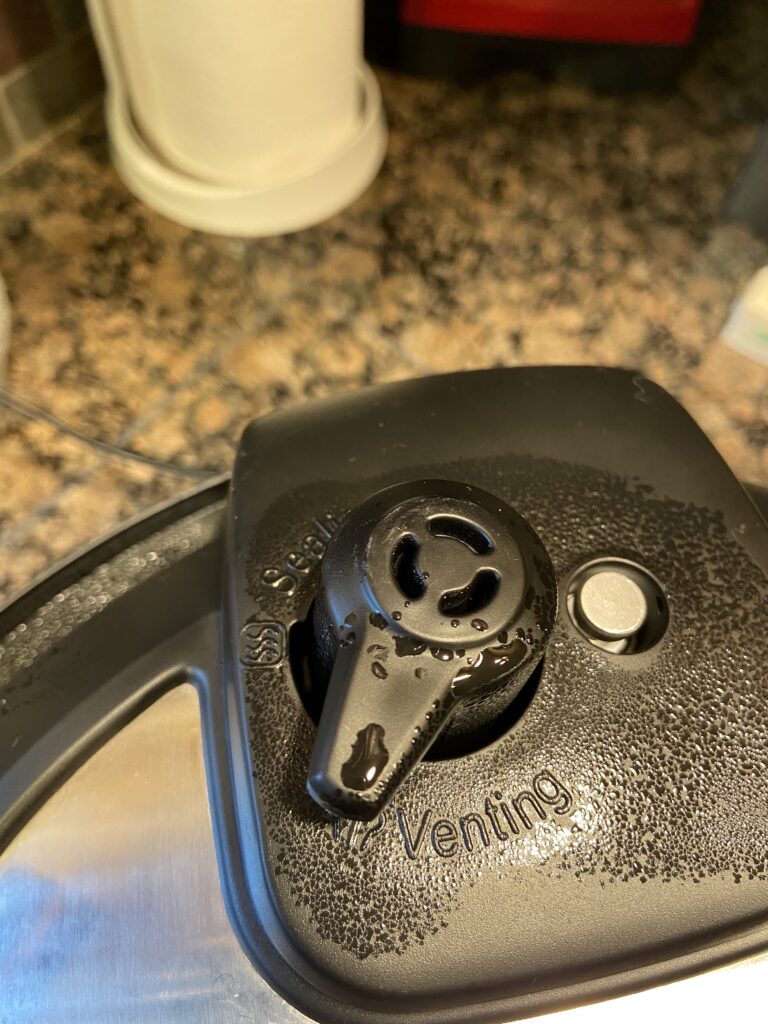
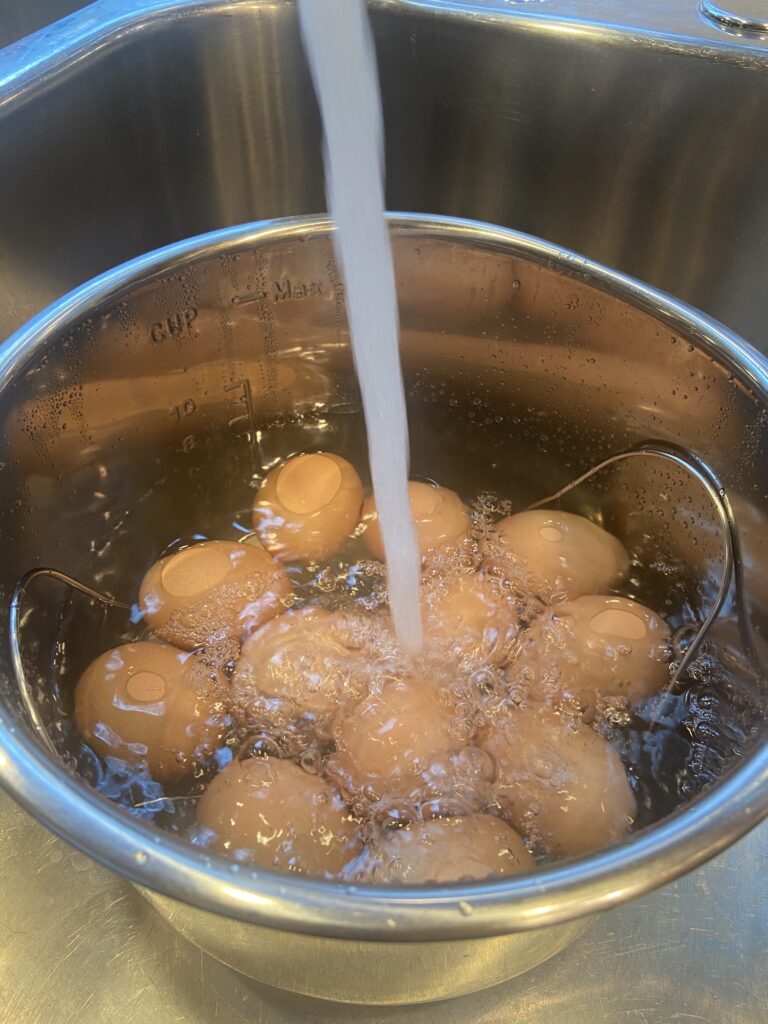
When the timer goes off, immediately turn the venting dial to VENTING, making sure to avoid the high pressure steam that will be released. Once the pressure has lowered enough so that the lid unlocks, you can either remove the eggs to an ice bath or take the lazy person’s way (like me) and use pot holders to lift the stainless steel insert out of the Instant Pot and run cold water over the eggs. Allow the eggs to sit in the ice bath or cool water for about 10 minutes.
This would be a great time to make your mayonnaise. Click HERE to get my quick, easy and healthy Mayonnaise Recipe. You can use a store bought Avocado Oil or Olive Oil Mayo (just make sure to read those labels carefully!), but avoid any with hydrogenated or partially hydrogenated oils. Damaged, unhealthy fats make damaged, unhealthy bodies!!

Now the fun part! Peel those eggs! It is really SO easy with Instant Pot eggs – total game changer.
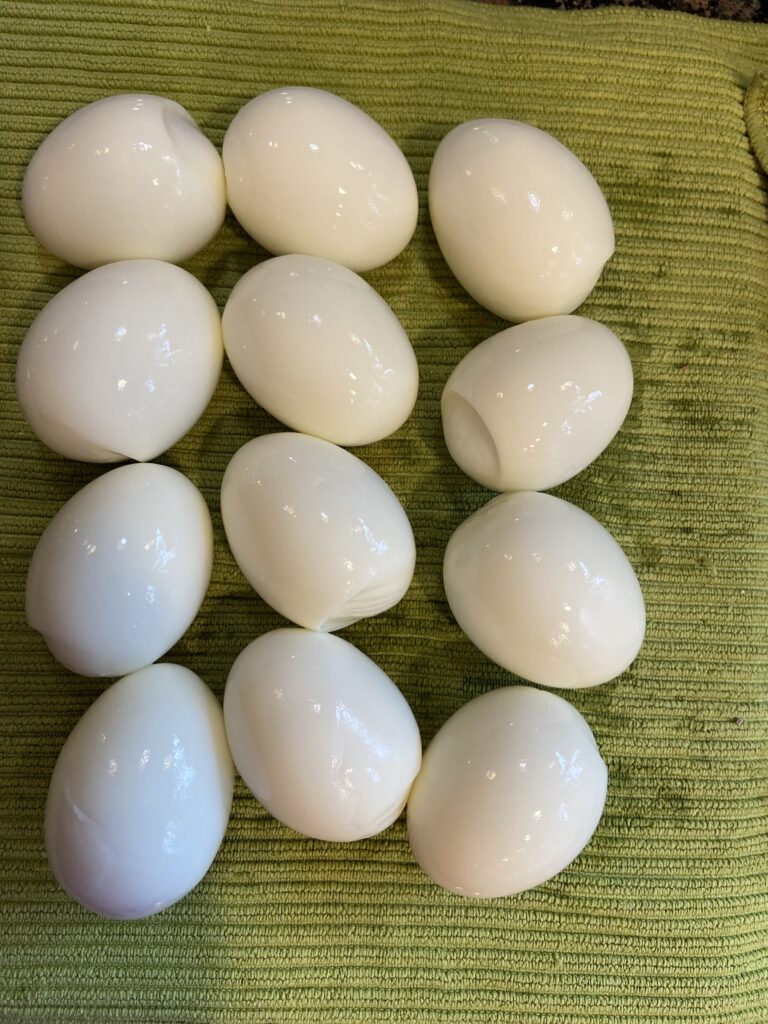
Once the eggs are peeled, slice each egg in half lengthwise and spoon out the yolks into a separate bowl. Set the whites aside for filling later. (Pro tip from my Mom…cook a couple more eggs than you need and use their yolks in the filling. This gives you a little extra filling to go around. Nobody likes skimpy deviled eggs! You can keep the whites to use in salads etc.)
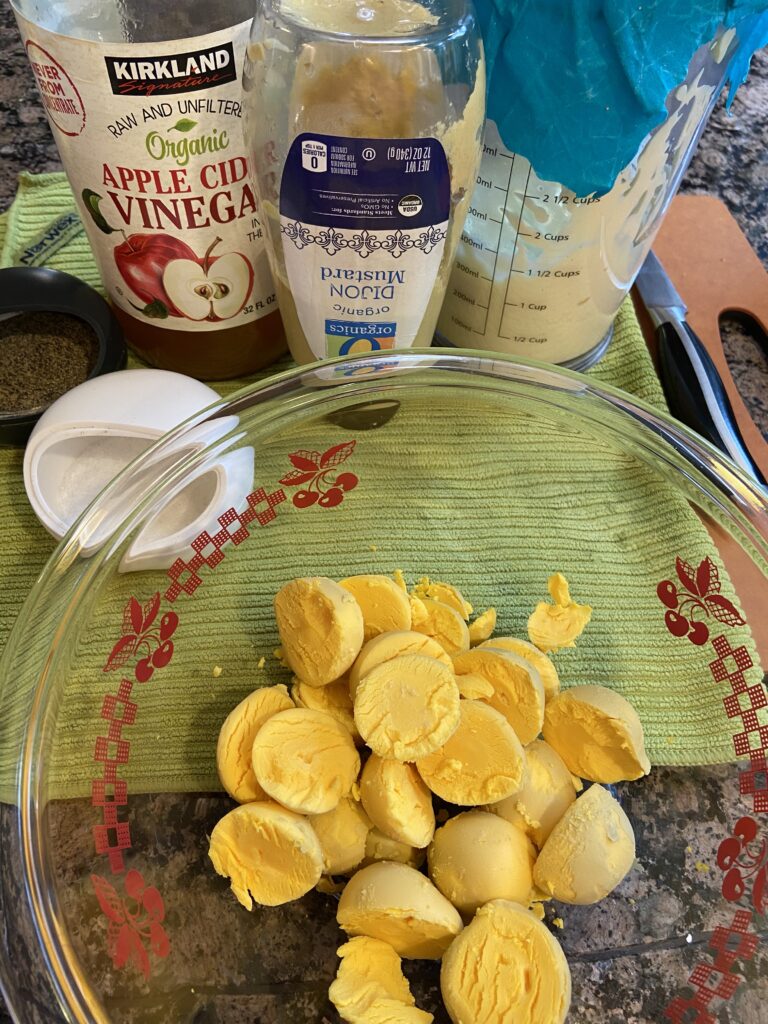
Mash the yolks up with a fork and then add the mayo, mustard, apple cider vinegar, salt and pepper (if using). The measurements I give in the recipe are to my taste. I’d advise that, instead of dumping everything in, add the ingredients separately (even a bit at a time) mixing well in between and taste as you go. Depending on your own palate, how big your yolks are and even how thick your mayo turned out, you may want to adjust quantities a bit.
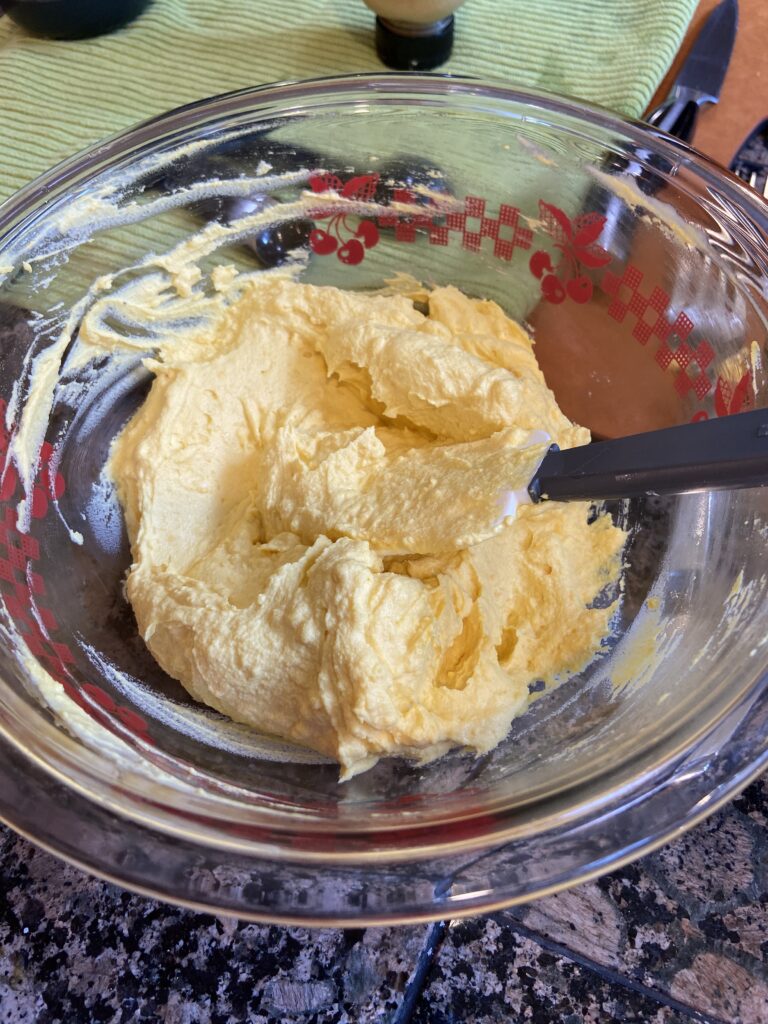
Once you’ve got the filling mixed so it’s smooth, fluffy and tasting great, spoon the mixture back into the yolk divots in the whites you set aside. You can get fancy and use a piping bag, but spooning it in with a teaspoon is quicker, easier and you don’t lose a whole bunch of your delicious filling on the sides of the bag.

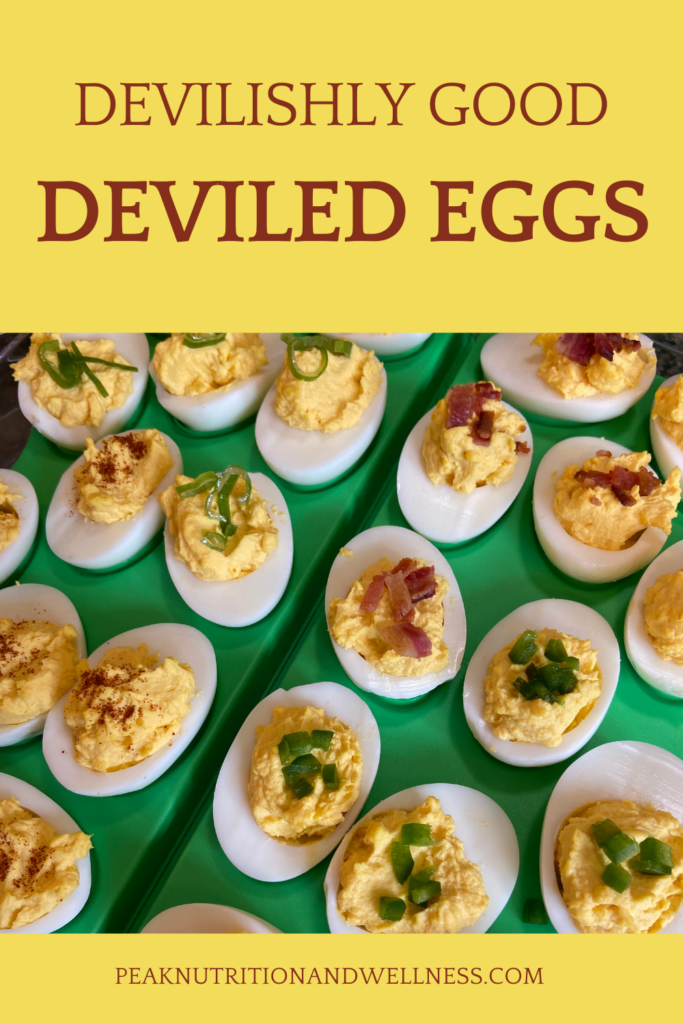
Once filled, let your creativity flow and garnish those bad boys with whatever floats your boat. Bacon, chives, scallions, dill, jalapeño, smoked salmon, paprika, kimchi(pat it dry first!)… the options are endless.
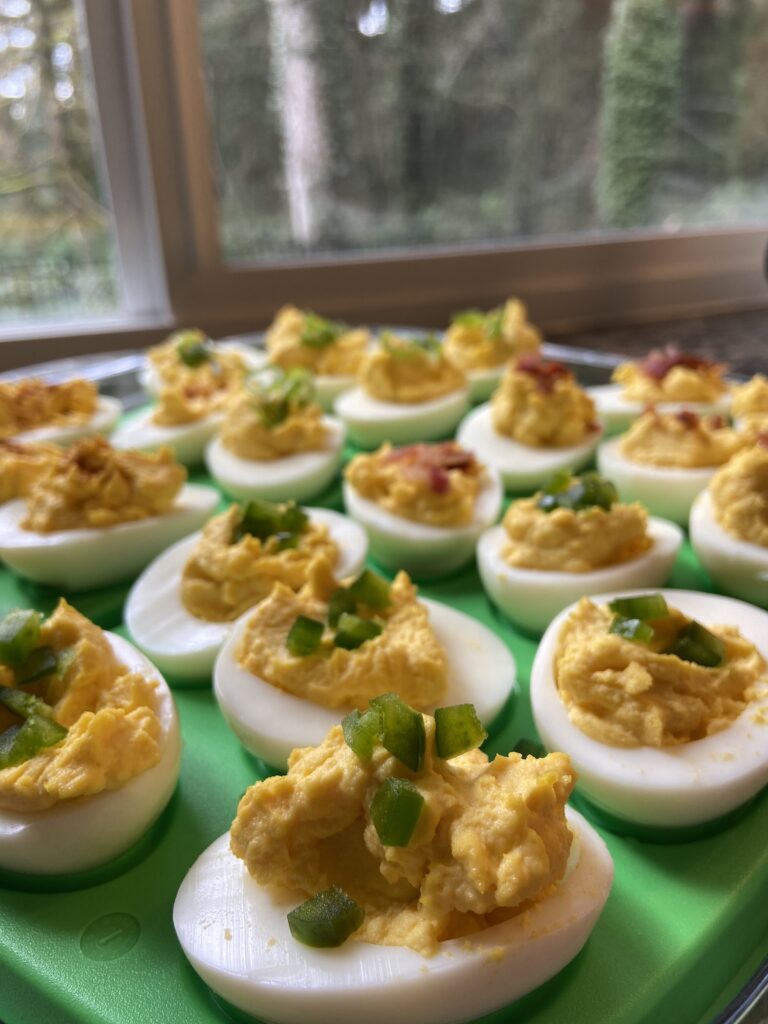
Chill until serving. Keeps well, covered, in the fridge for 3 to 5 days. Enjoy! Let me know what topping you like on your devilled eggs in the comments!

If you want to find out more about the incredible, edible egg, check out my previous TRILOGY of posts on eggs!

Part 1 – What Do All Those Labels on Egg Cartons Really Mean?

Part 2 – Common Myths and Misconceptions about Eggs

Part 3 – The Nutritional Value of the Humble Egg

Print Recipe
Devilishly Good Deviled Eggs
Perfect for picnics and BBQs, game day feasts or potlucks, these little devils are quick and easy to prepare, free of processed ingredients and full of protein and healthy fats. A true crowd pleaser!
Prep Time 30 minutes
Servings
deviled eggs
Ingredients
Prep Time 30 minutes
Servings
deviled eggs
Ingredients
Instructions
Hard Boiling the Eggs (Instant Pot)
  1. Place the eggs in a single layer on the trivet in your Instant Pot.
  2. Add 1 cup of cold water to bottom of pot and place and lock lid. Make sure that the steam release valve on the lid is set to "SEALING".
  3. Turn the Instant Pot on and set it to cook under High Pressure for 6 minutes.
  4. As soon as the eggs have finished cooking, immediately release the pressure by turning the steam release valve to the "VENTING" position. (WARNING! Pressurized steam is HOT! Keep clear of the valve until pressure has released! You may also want to make sure your instant pot isn't directly under cabinetry so the steam does not damage the wood).
  5. Once the pressure releases to the point that the lid unlocks, carefully remove lid. Use tongs to transfer the eggs from the Instant Pot to an ice bath. Alternatively, you can remove stainless steel insert (using pot holders), place it in sink and run cold water over the eggs. Once cooled (about 10 minutes), you can store them in the fridge for about a week or, peel and use them immediately.
Hard Boiling the Eggs (Stove Top Version)
  1. Place the eggs in the saucepan in single layer and cover with cold water. The water should cover the eggs by at least an inch.
  2. Set burner to medium high heat and bring to a boil.
  3. Once the water reached the boil, cover and remove from heat.
  4. Let stand for 10 minutes.
  5. Drain and cool in an ice bath for approximately 10 minutes. Alternatively, you can place pot in sink and run cold water over the eggs. Once cooled, you can store them in the fridge for about a week or, peel and use them immediately.
Devilled Eggs
  1. Peel eggs and slice them in half lengthwise, dropping the cooked yolks into a small bowl and reserving the cooked whites to fill later.
  2. Once all the eggs are halved and the yolks removed, use a fork to mash up the yolks. Add the mayonnaise, mustard, vinegar, salt and pepper(optional).
  3. At this point, taste your mixture and make any adjustments to suit your preferences.
  4. Spoon mixture into the hollowed out eggs whites and garnish as desired (see suggestions below!).
Recipe Notes

Keep covered and chilled until serving. Keeps 3 to 5 days, covered, in fridge.

Plan to cook 2 more eggs than you need. The extra yolks will ensure you have ample filling and you can save the whites and use them later in a salad (or just eat them as a snack!).

Basic Mayonnaise Recipe Link

GARNISH IDEAS - Let your imagination run wild! The possibilities are endless!

  • Paprika (old school standard) - regular or smoked
  • Bacon
  • Dill
  • Jalapeno
  • Radish
  • Scallion or Chives
  • Kimchi
  • Smoked Salmon

Spiced Apple Muffins

Jump to Recipe

Okay, I know it’s TECHNICALLY not Autumn yet – in fact, we’ve had a bit of a heat wave here in the PNW. But, September gets me thinking about all those great autumn flavours – cinnamon, ginger, apples..YUM! And heck, if Starbucks can start selling Pumpkin Spice Lattes before summer is over, we can make muffins! At 50 grams of sugar for a GRANDE latte, my muffins are a lot better for you too!

Spiced Apple Muffins (GF, DF)

The inspiration for these, ironically enough, came from a recipe I was trying for a RESTART™ class that I teach. It is a 5 week nutritional education program that I teach to groups (for more info click HERE). It includes a 3 week “sugar detox”, so I was trying a muffin recipe that had NO added sugar. When my husband taste tested one, he said “with a little honey or maple syrup these would be really good!”(insert eye roll here – totally missing the point hon!). But an idea was born!

While definitely not appropriate if you are doing the sugar detox portion of the RESTART™ program. Afterwards, they are certainly something that could be enjoyed once in awhile (maybe even paired with a nice frittata for a balanced breakfast!)

I decided to use coconut sugar as the sweetener (instead of the honey or maple syrup suggested by the hubs) because I like the “brown sugary” flavour it imparts. If you want to use honey or maple syrup, you would have to decrease the amount both sweetener and liquid in the recipe. (Check back for recipe updates once I try this myself!)

Back to the coconut sugar…why not just use brown sugar? Although coconut sugar is STILL sugar, it does have some benefits over regular white or brown sugar. Coconut sugar is much less refined than regular sugar and hasn’t been stripped of all its nutrients. It contains small amounts of minerals like iron, zinc, potassium and calcium, antioxidants and inulin (a fibre that is beneficial for gut health). Granted, the amounts of these nutrients is very small, but it’s better than refined sugar which is completely stripped of ALL nutrients! Another benefit of coconut sugar is that it has a lower glycemic index than its highly refined counterpart. The Glycemic Index of a food indicates how much and how quickly a food raises blood glucose levels. Coconut sugar, having a lower glycemic index than regular sugar, raises blood glucose less quickly and doesn’t cause as much of a “spike” in blood glucose. This makes it less stressful on the body. All that said – sugar IS sugar and even “healthy” sugars can cause inflammation and/or trigger those sugar cravings. So while I still suggest limiting sugar consumption, if you are going to have it – you should definitely consider the less refined options!

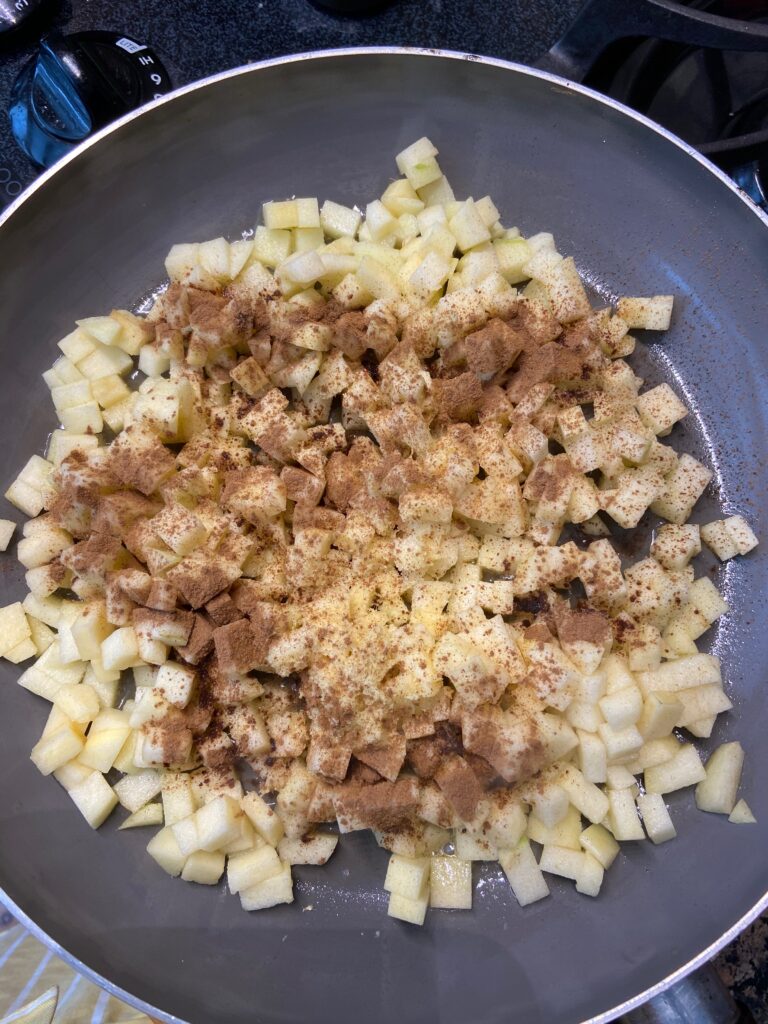
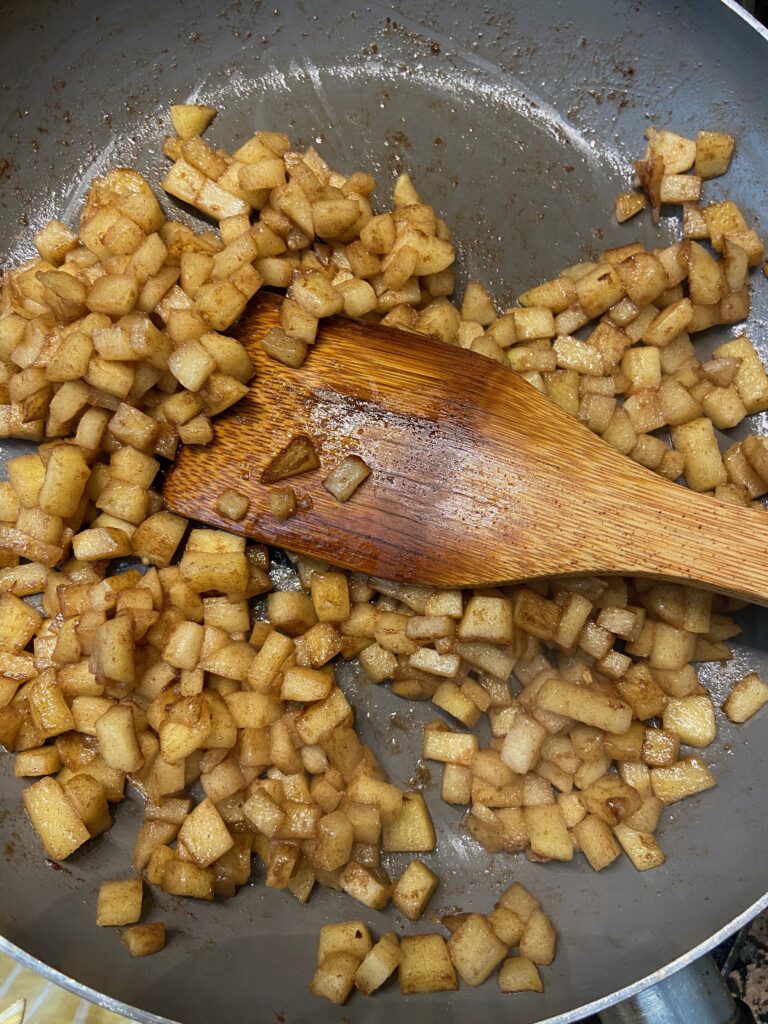
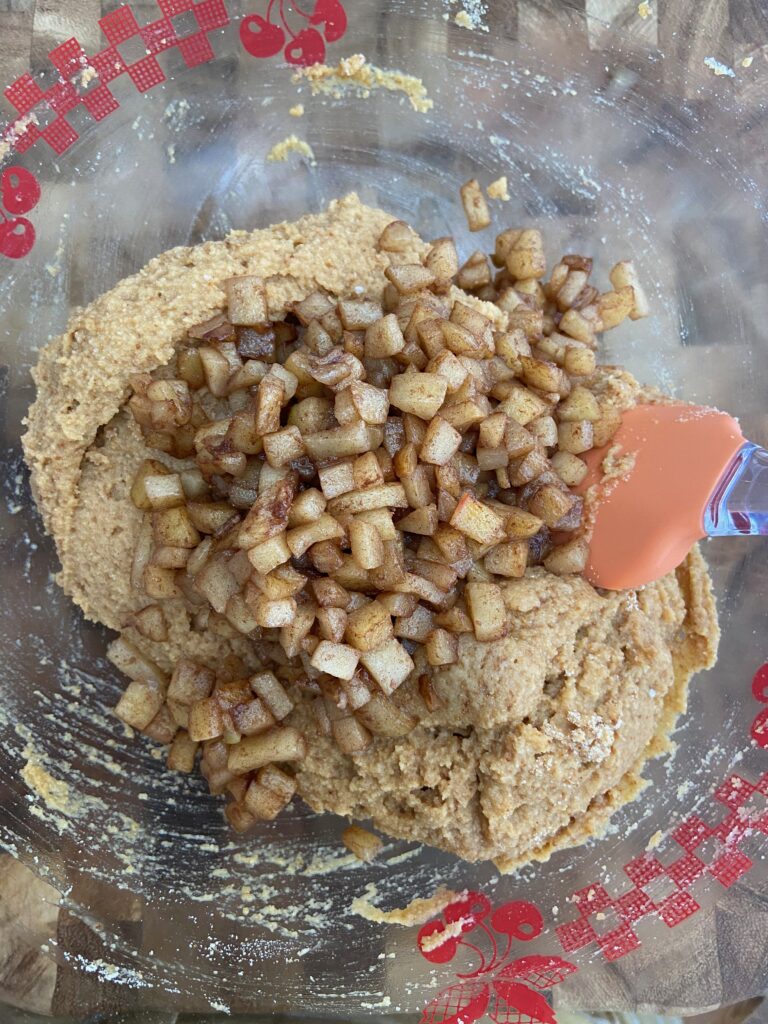
The recipe comes together pretty quickly. I started by sautéing the diced apples, cinnamon and grated ginger in the coconut oil for about 5 minutes, or until they just start to soften. (This is when the other people in the house will wander into the kitchen to see what smells so good!!)

Pull the apples off the heat and allow them to cool while you measure the dry ingredients into a large bowl. Mix well.

In a separate bowl, whisk together the wet ingredients (eggs, milk and vanilla).

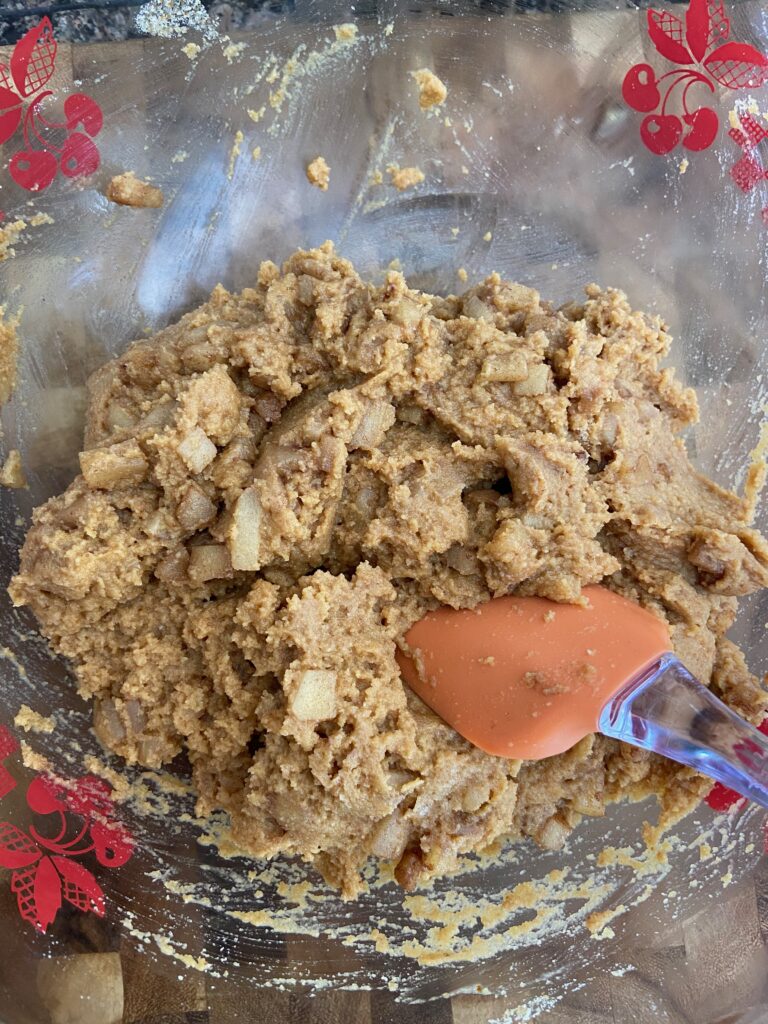
Add the wet ingredients to the dry ingredients and mix well until fully incorporated.

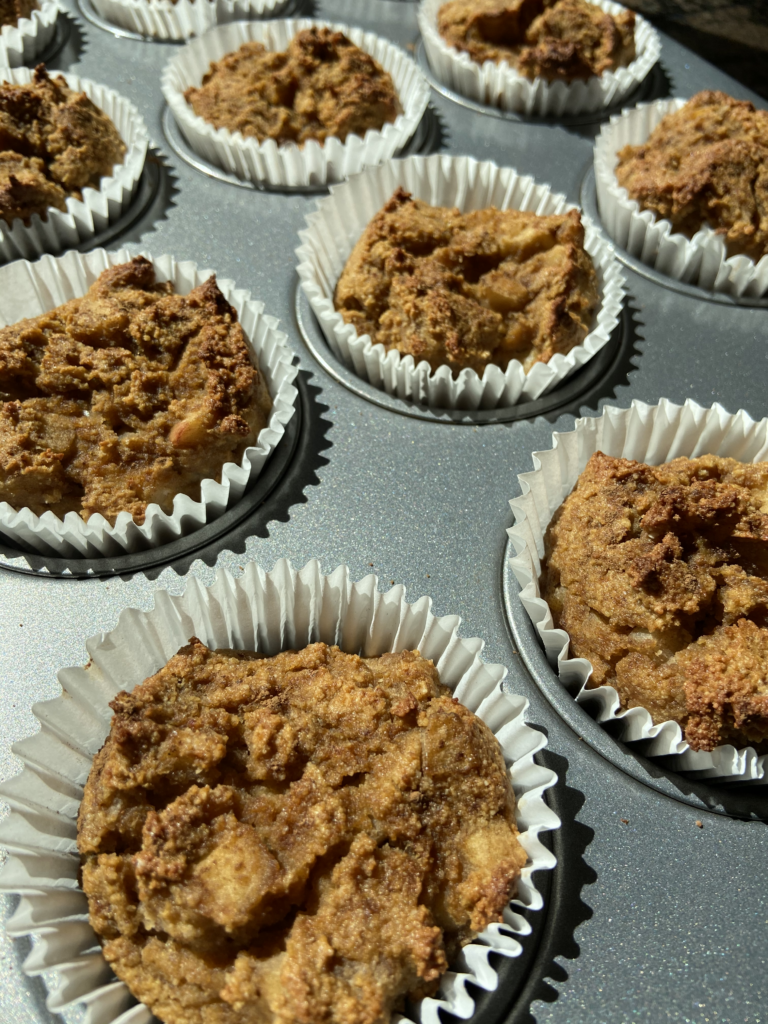
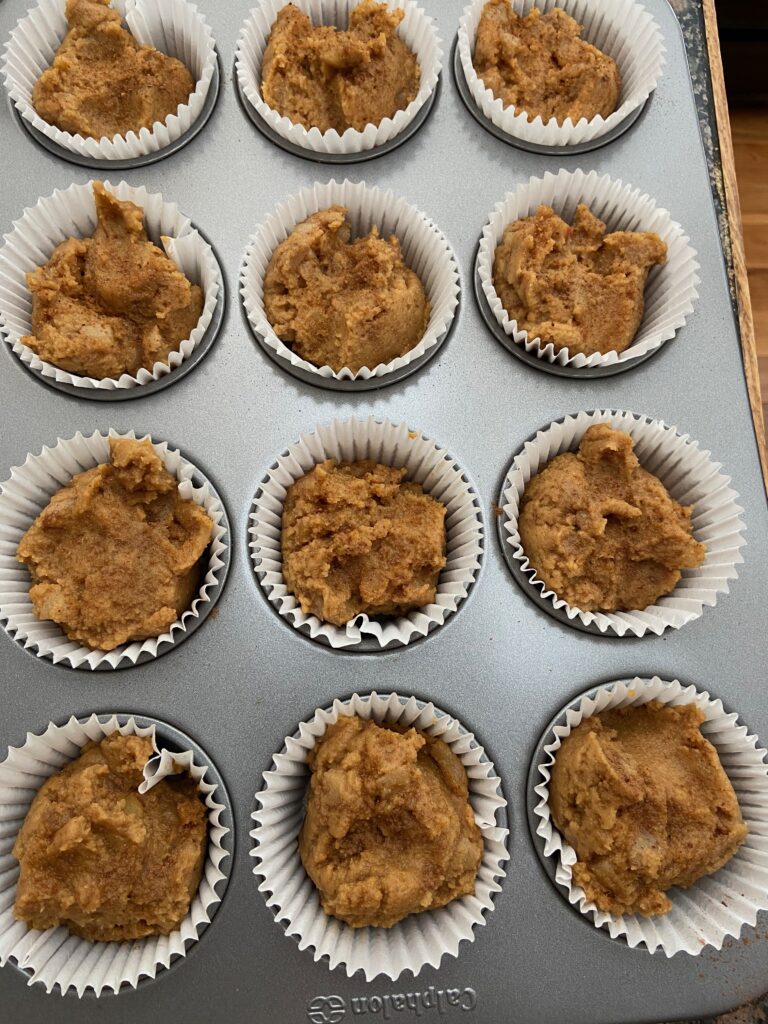
Stir in your cooled apples, measure into your muffin tin and pop in a 350 degree oven for 24 minutes (or until a toothpick inserted in the centre of a muffin comes out clean). YUM!

I think that the next time I make these muffins, I might listen to my husband’s suggestion (don’t tell him!) and try them with honey as a sweetener. Pure, raw honey has pollen, enzymes plus a variety of nutrients and is considered one of the healthiest sweeteners out there (though, remember, it is STILL sugar!). I’d also up the spice game, I like a SPICY muffin – so a little more of everything for me please!

Finally, a note on the apples. Feel free to use whatever variety of apple you like. I actually used 1 Granny Smith and 1 Gala for this recipe, but I found that the Gala didn’t stand up as well and it kind of just melted into the muffin. The Granny Smith are a bit firmer and a little more tart, so they add a nice balance to the sweetness of the muffin.

Happy Baking! If you try them, leave a comment and let me know what you think!

Print Recipe
Autumn Spiced Apple Muffins
A gluten and dairy free recipe using apples, cinnamon and ginger to give these muffins a warm, autumn flavour.
Prep Time 25
Cook Time 24
Servings
large muffins
Ingredients
For Apple Prep
Muffin Recipe
Prep Time 25
Cook Time 24
Servings
large muffins
Ingredients
For Apple Prep
Muffin Recipe
Instructions
Apple Preparation
  1. Preheat oven to 350 degrees F and line muffin tin with parchments squares or muffin cups.
  2. Peel, core and dice apples; grate ginger if using fresh (see notes).
  3. Melt coconut oil in saute pan, over medium heat; add apples, cinnamon (1 tsp) and grated ginger. Saute until just softened, about 5 minutes.
  4. Remove from heat and move onto Muffin instructions.
Muffin Preparation
  1. Measure dry ingredients into large mixing bowl and stir until combined.
  2. Measure wet ingredients into a medium sized mixing bowl and whisk until combined.
  3. Add wet ingredients to the dry ingredients and mix well, ensuring that all dry ingredients are incorporated.
  4. Add cooled apple mixture to muffin batter and mix to combine.
  5. Spoon muffin mixture into prepared muffin tin, filling cups about 3/4 full (~1/3 cup mixture per muffin).
  6. Place filled muffin tin in preheated oven and bake for 24 minutes or until a toothpick inserted in the centre of a muffin comes out clean.
  7. Cool on wire rack before storing.
Recipe Notes

Store for 3-5 days in fridge. Store in freezer for 3 months.

Freezing your fresh ginger root and then grating it on a microplane is much easier than grating fresh unfrozen ginger. If ginger is organic, feel free to zest the skin as well.


Easy Egg Bake

Easy Egg Bake (GF, DF, Paleo
Jump to Recipe

When working with clients, one of the biggest hurdles for them when it comes to transitioning to real, whole, nutrient dense foods is figuring out the whole “breakfast thing”. Most of the foods that we’ve been programmed to consider breakfast foods, things like cereal, toast, pancakes and even fruit are lacking in two vital nutrients. Fats and Protein. Our (often heavily refined) carbohydrate heavy breakfasts are setting us up for a wild ride on the blood sugar rollercoaster. Needing to snack every few hours, getting jittery, irritable and hangry and feeling the need for a mid-afternoon siesta are all pretty good signs that you need better balance in your life. Each meal we eat should have a balance of the three macronutrients, carbohydrates (grains, vegetables, fruits), protein and healthy fats. The proper ratio of these nutrients will vary from person to person, depending on several factors including age, activity level and digestive health. Keeping a food and mood journal, tuning into how you are feeling and working with a nutritional therapist can help you identify any tweaks you can make in your ratios to best fuel your body and provide long lasting energy.

Have you ever considered having a big Cobb salad to start your day? How about some left over pot roast and sweet potatoes? Sound crazy? Creating a balanced breakfast is more of a mental game than anything else. It’s really just another meal! Your cells don’t care if it is 7am or 7pm, they just want food that is nourishing, provides them with the nutrients they need to do their jobs and gives them the energy to keep going until the next balanced meal. This mental shift can take some work, but luckily, there is a food that is kind of a “jack of all trades”at fitting in to any meal. The almighty egg! Using eggs as a base for a tasty breakfast dish can help you transition from those carbohydrate heavy breakfasts to a well balanced, energizing way to break your fast.

Enter the Egg Bake (or Crustless Quiche if you are feeling fancy)! This recipe has it all. It’s super easy to prepare, can be made ahead and supplies you with breakfasts throughout the week and is SUPER adaptable to whatever ingredients you have on hand. It is the perfect “fridge foraging” recipe. You know when you have a lot of bits and pieces of stuff to use up – make an egg bake! 

I’ll be honest. I’m a bit of a free-styler in the kitchen. I tend to go by feel, throwing a bit of this or that in and adjusting as I go. When my husband compliments me on a meal, I often joke that I’m glad he enjoyed it, because it’s unlikely to ever taste the same way twice! I come by it naturally, as my mom is much the same way. I have fond memories of her handing a tasting spoon to Dad and asking him if the sauce or chili needed anything else. More often than not, after some pensive consideration (and maybe another taste or two), he would pronounce it as being perfect. This, for those of you wondering, is the absolute CORRECT response when your significant other asks for your opinion on their cooking!

This way of cooking does create some issues when you want to share a recipe though. A pinch of this or a glug of that doesn’t really make for effective recipe blogging. So, when I set out to make this egg bake, I made sure to jot down measurements. That being said, this recipe is so versatile, you can feel free to change it up as you see fit! I kept the ingredients in this one pretty basic, mostly because we are in the midst of the whole “shelter in place” thingy and this is what I had to work with! Leftovers work really well here. Got some leftover taco meat? Make a southwestern version with some added peppers, cilantro and top with avocado before serving. Leftover bacon (is that even a thing?) combined with green pepper and onion  – voila a Western omelet egg bake. Play around, improvise – food should be fun!

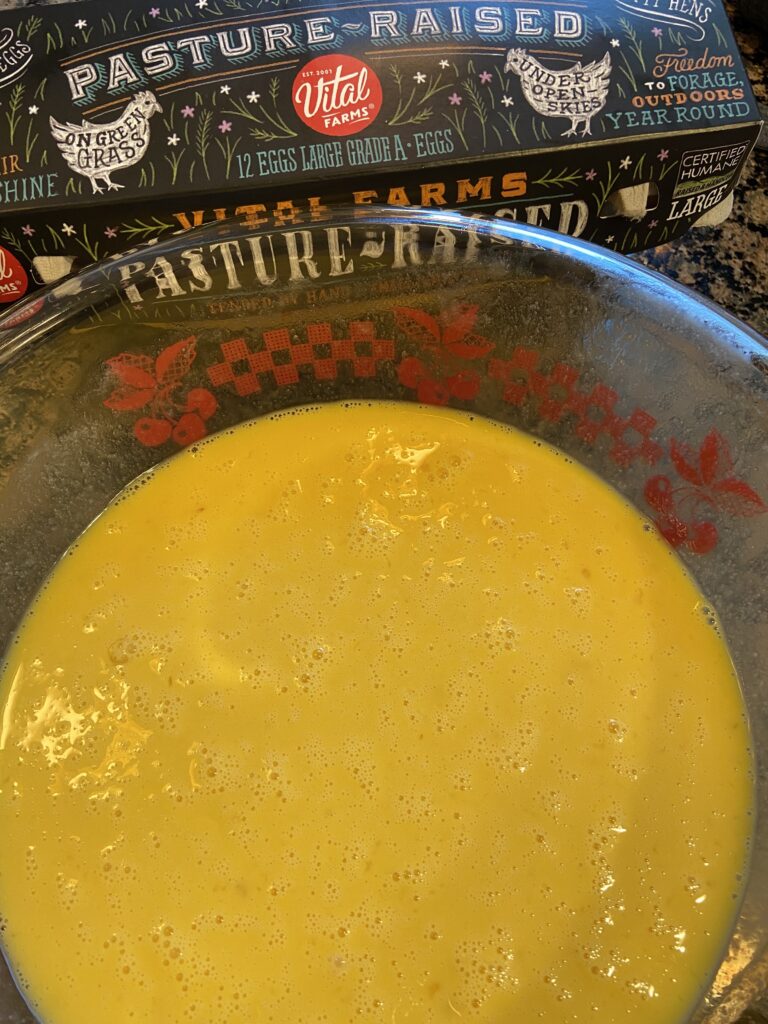
For this egg bake, I whisked 18 pasture raised eggs (I wanted roughly 3 eggs per serving) with coconut milk and salt and pepper. The milk can be omitted, but I find that it helps to lighten up the egg bake and make it a little fluffier.

Check out that color! These pasture raised eggs have lovely orange yolks, are more nutrient dense than conventional eggs and a great source of Omega 3 fatty acids, antioxidants and B vitamins.

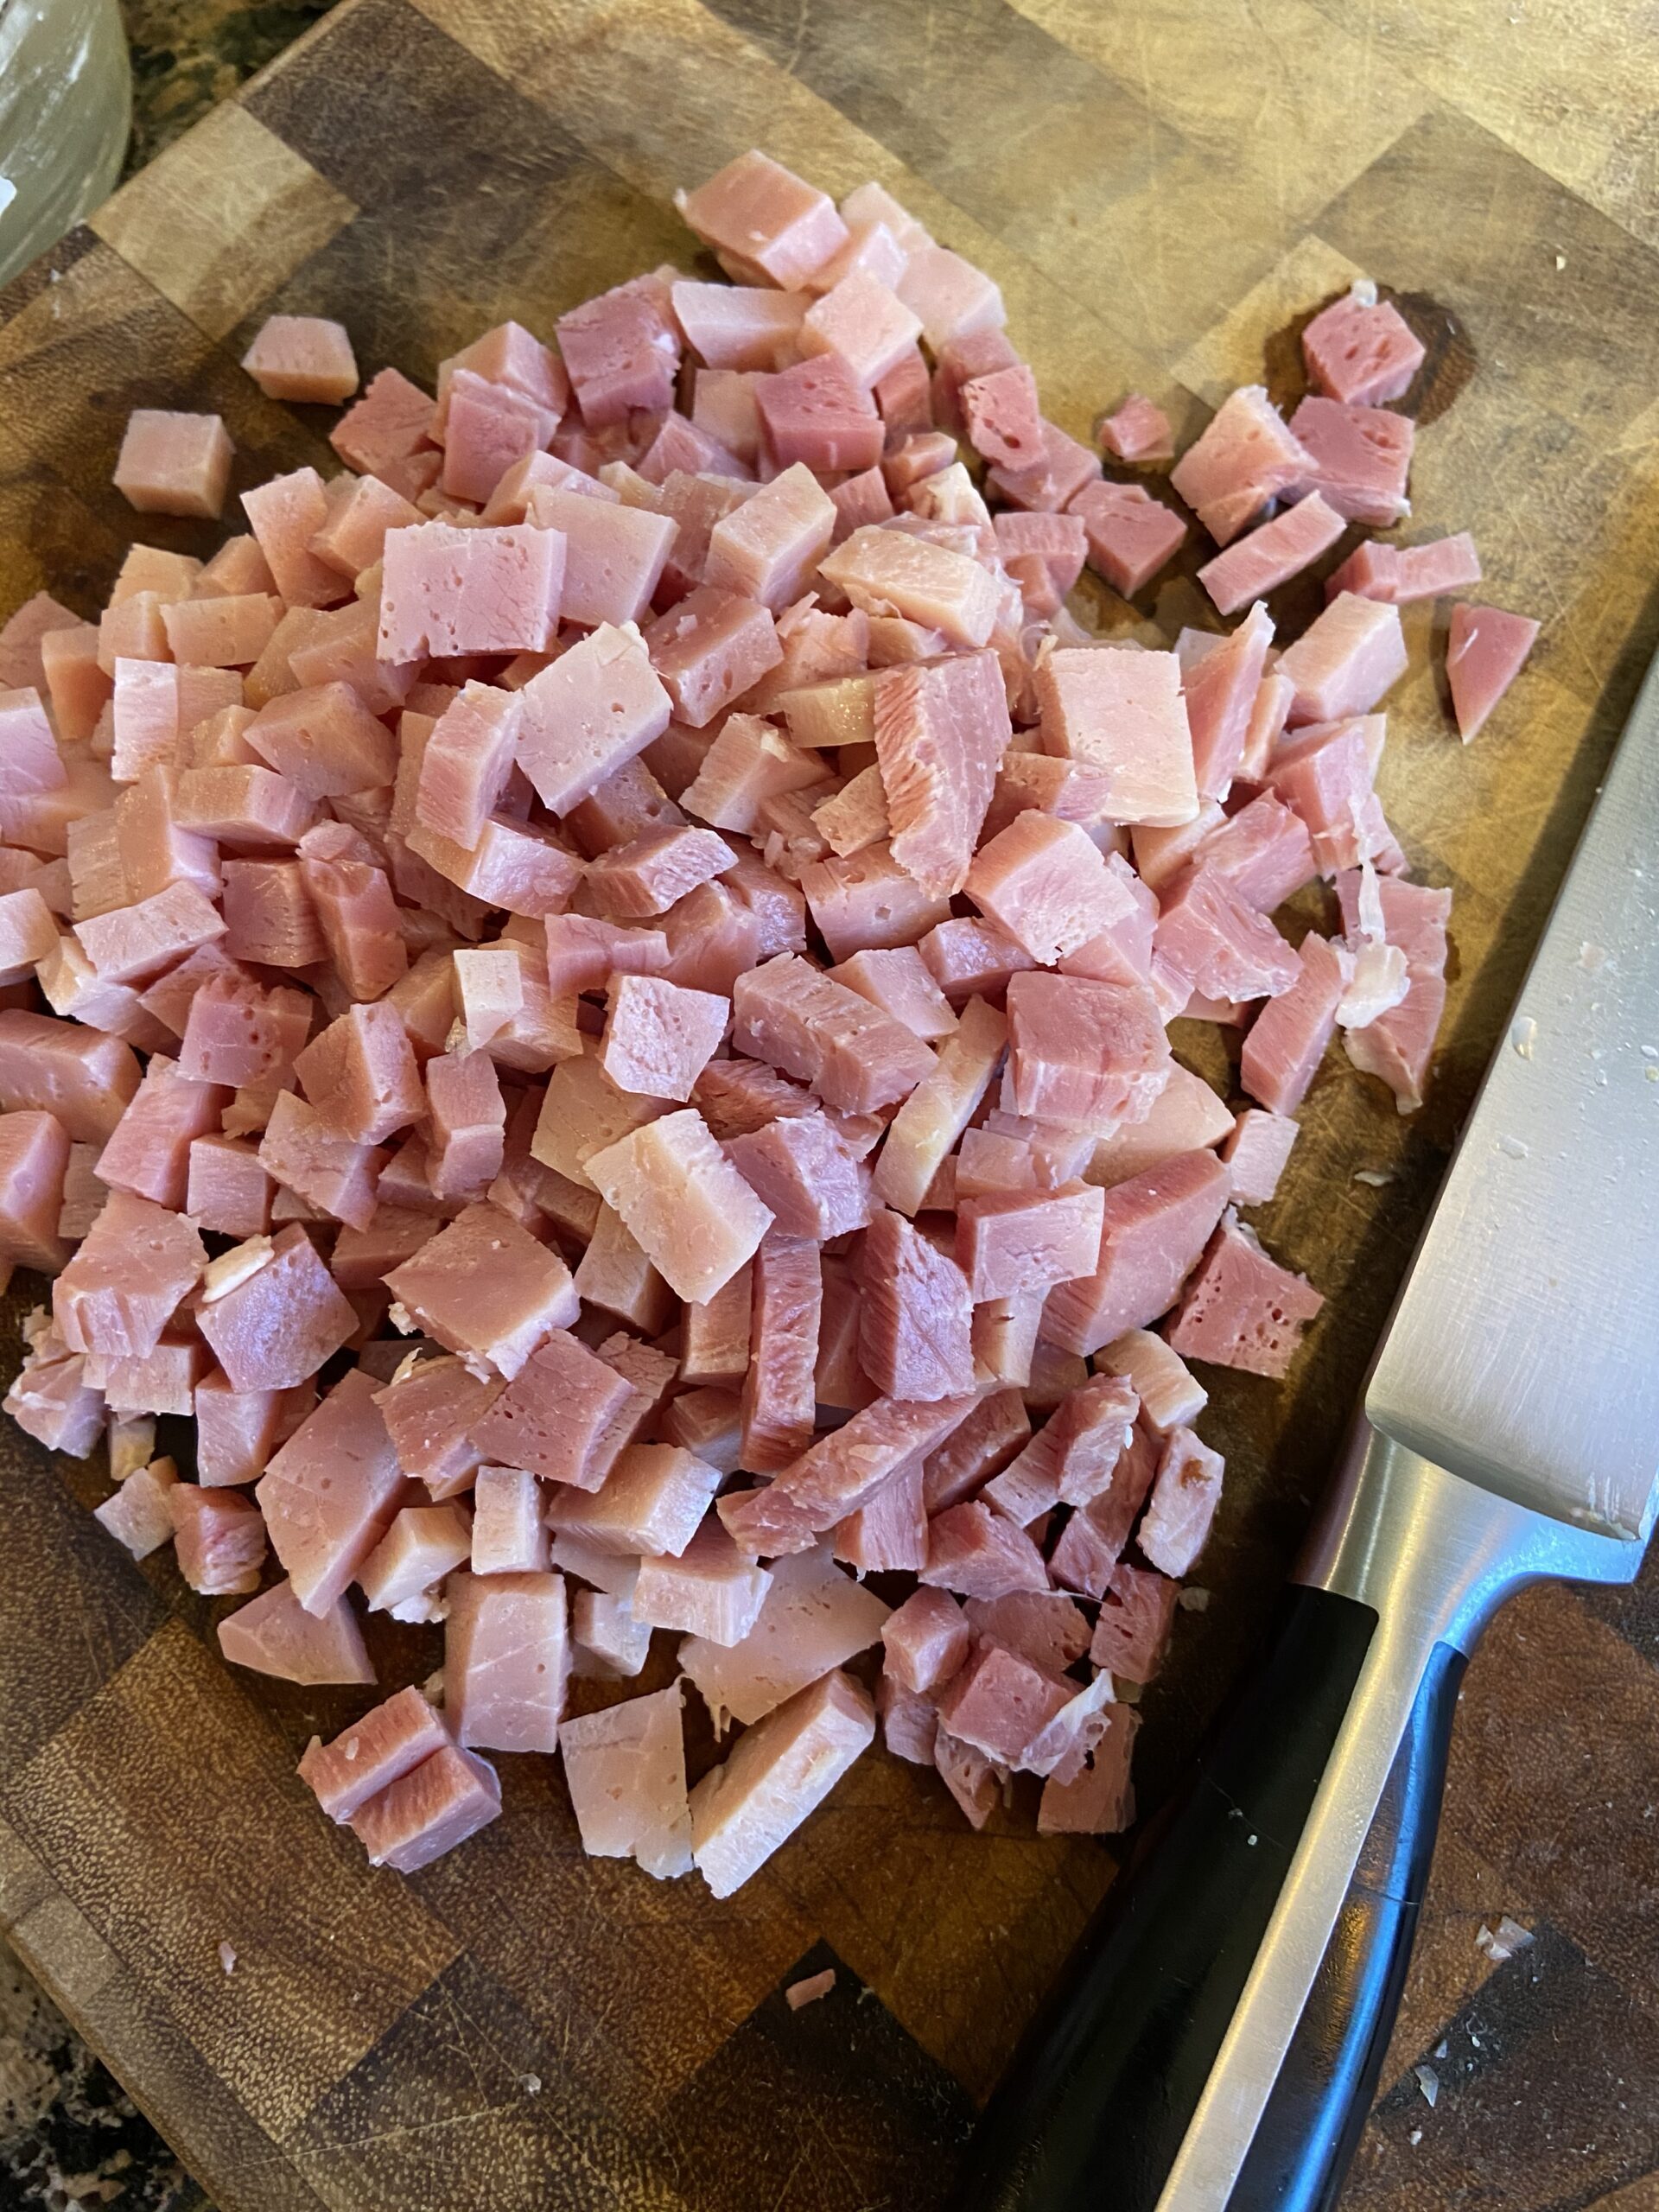
Next, I diced up some leftover ham, evenly distributed it into a greased 9X13 baking dish and poured the egg mixture over top.

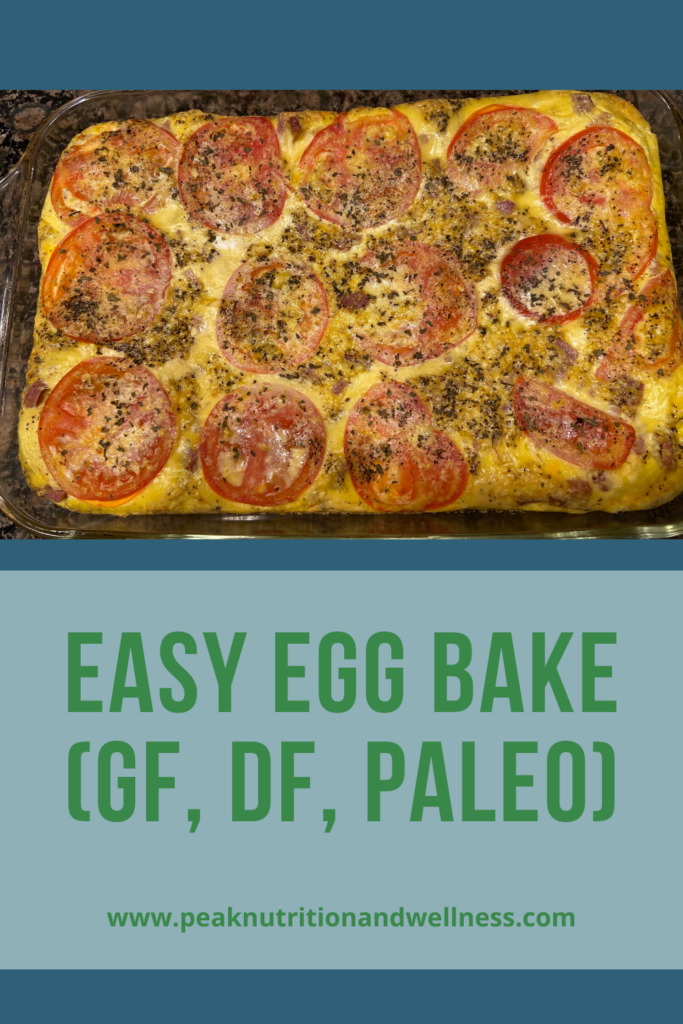
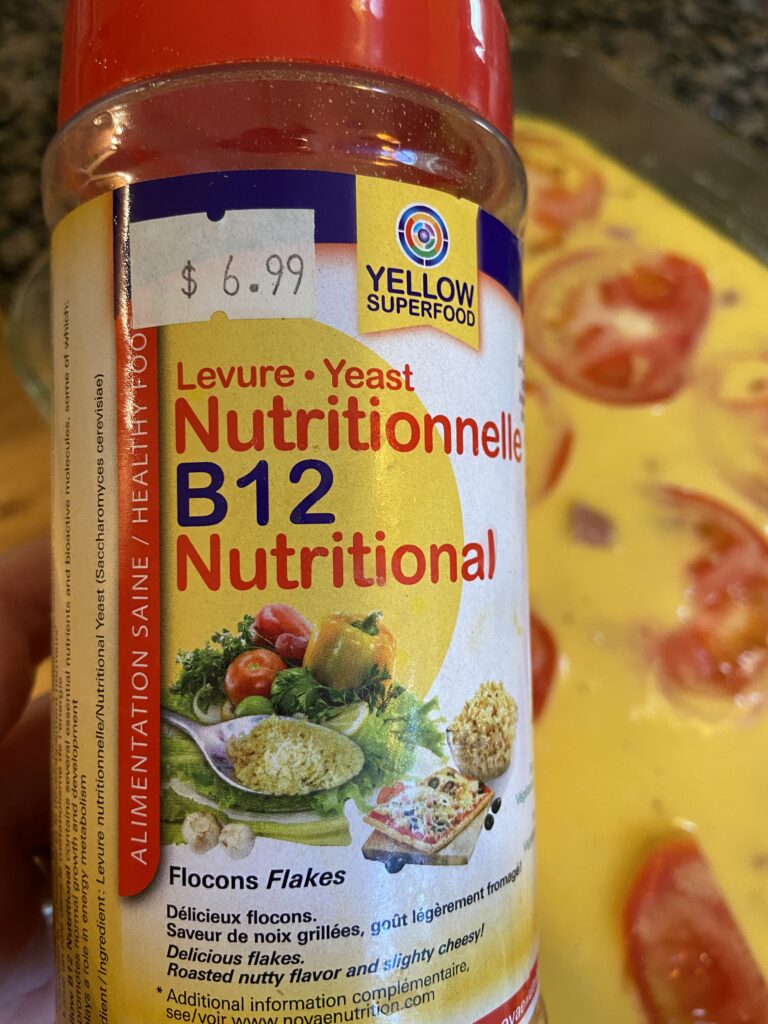
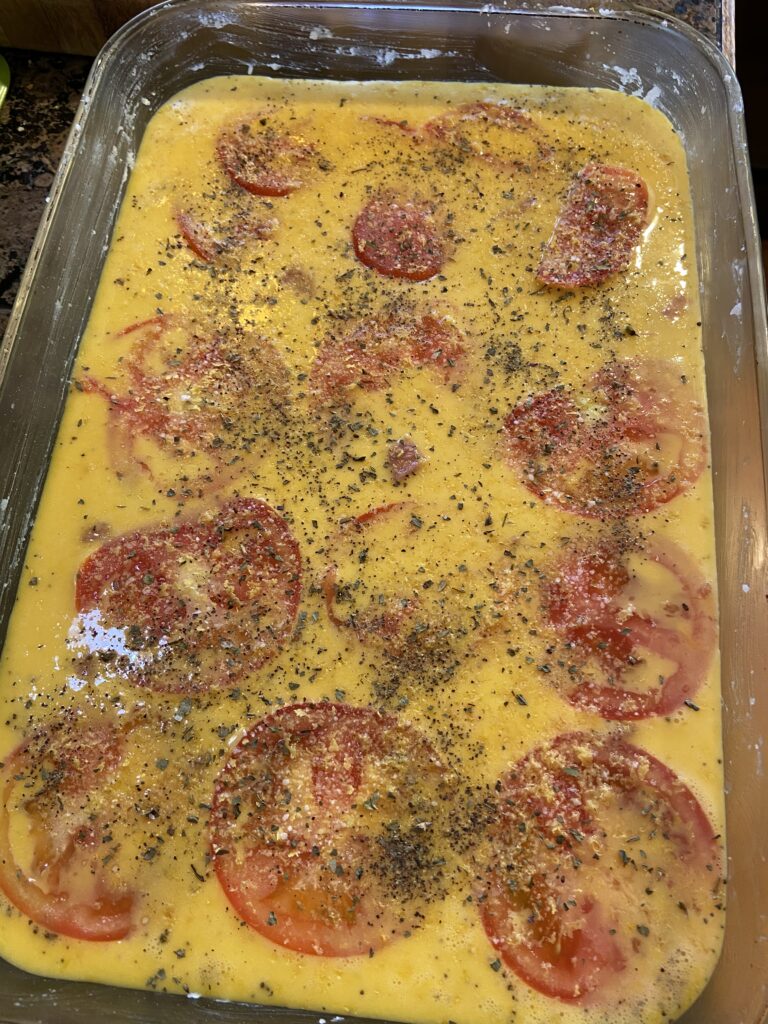
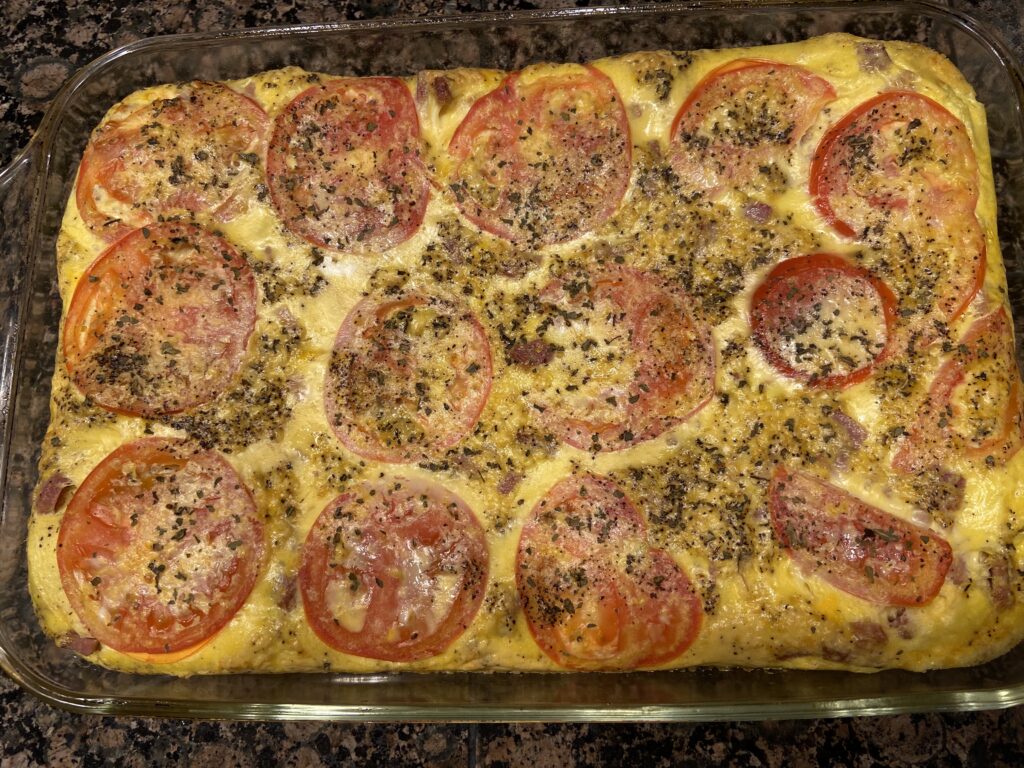
Lastly, I placed the sliced tomatoes in a single layer on top of the ham and eggs, sprinkled with the basil, a little extra salt and pepper and the nutritional yeast. Nutritional yeast is a great source of Vitamin B12 and it adds a mild hint of cheesiness to dishes. Since I love dairy, but am sensitive to it, I use nutritional yeast to make me feel like there COULD be some form of cheesy goodness in there!

This bottle came with us from Canada! Hence the English AND French label!

Finally, I popped it in a 350 F degree oven and let it bake for 45 minutes. And just like that, I have breakfasts (or lunches) for the week. This version is a little light on the veg (thanks, shelter in place), but pair it with a salad of mixed greens or some berries and you have a balanced meal that tastes great and supplies you with plenty of stable energy to keep you going until your next meal.

Print Recipe
Easy Egg Bake
A super versatile recipe that is great for any meal of the day.
Prep Time 15
Cook Time 45
Servings
Ingredients
Prep Time 15
Cook Time 45
Servings
Ingredients
Instructions
  1. Preheat oven to 350 degrees Fahrenheit
  2. Grease a 9X13 inch glass baking dish with the coconut oil
  3. Crack the eggs in a large mixing bowl, add coconut milk, salt and pepper
  4. Whisk well
  5. Lay diced ham evenly in the prepared baking dish
  6. Pour egg mixture over the ham
  7. Lay the sliced tomatoes in a single layer on the top of the egg mixture
  8. Sprinkle basil, nutritional yeast and a little extra salt and pepper over the top
  9. Bake in oven for approximately 45 minutes or until the eggs in the centre of the dish are set. I like to check it after 30 minutes and monitor from there.