

Easter is wonderful time of year to celebrate spring and new beginnings. One of the most popular Easter traditions is dying eggs, but most store bought kits use dyes full of artificial colors and chemicals. These are neither good for the earth or good for our bodies!
Artificial colors are known carcinogens and can trigger both allergies and hyperactivity. By using ingredients from our own kitchens/gardens, we can create beautifully dyed eggs with colors that are safe to handle and consume! (Eggs are like GOLD in my area of the world right now…expensive and hard to come by, so we definitely don’t want to just toss them!)
How to Create Natural Dyes
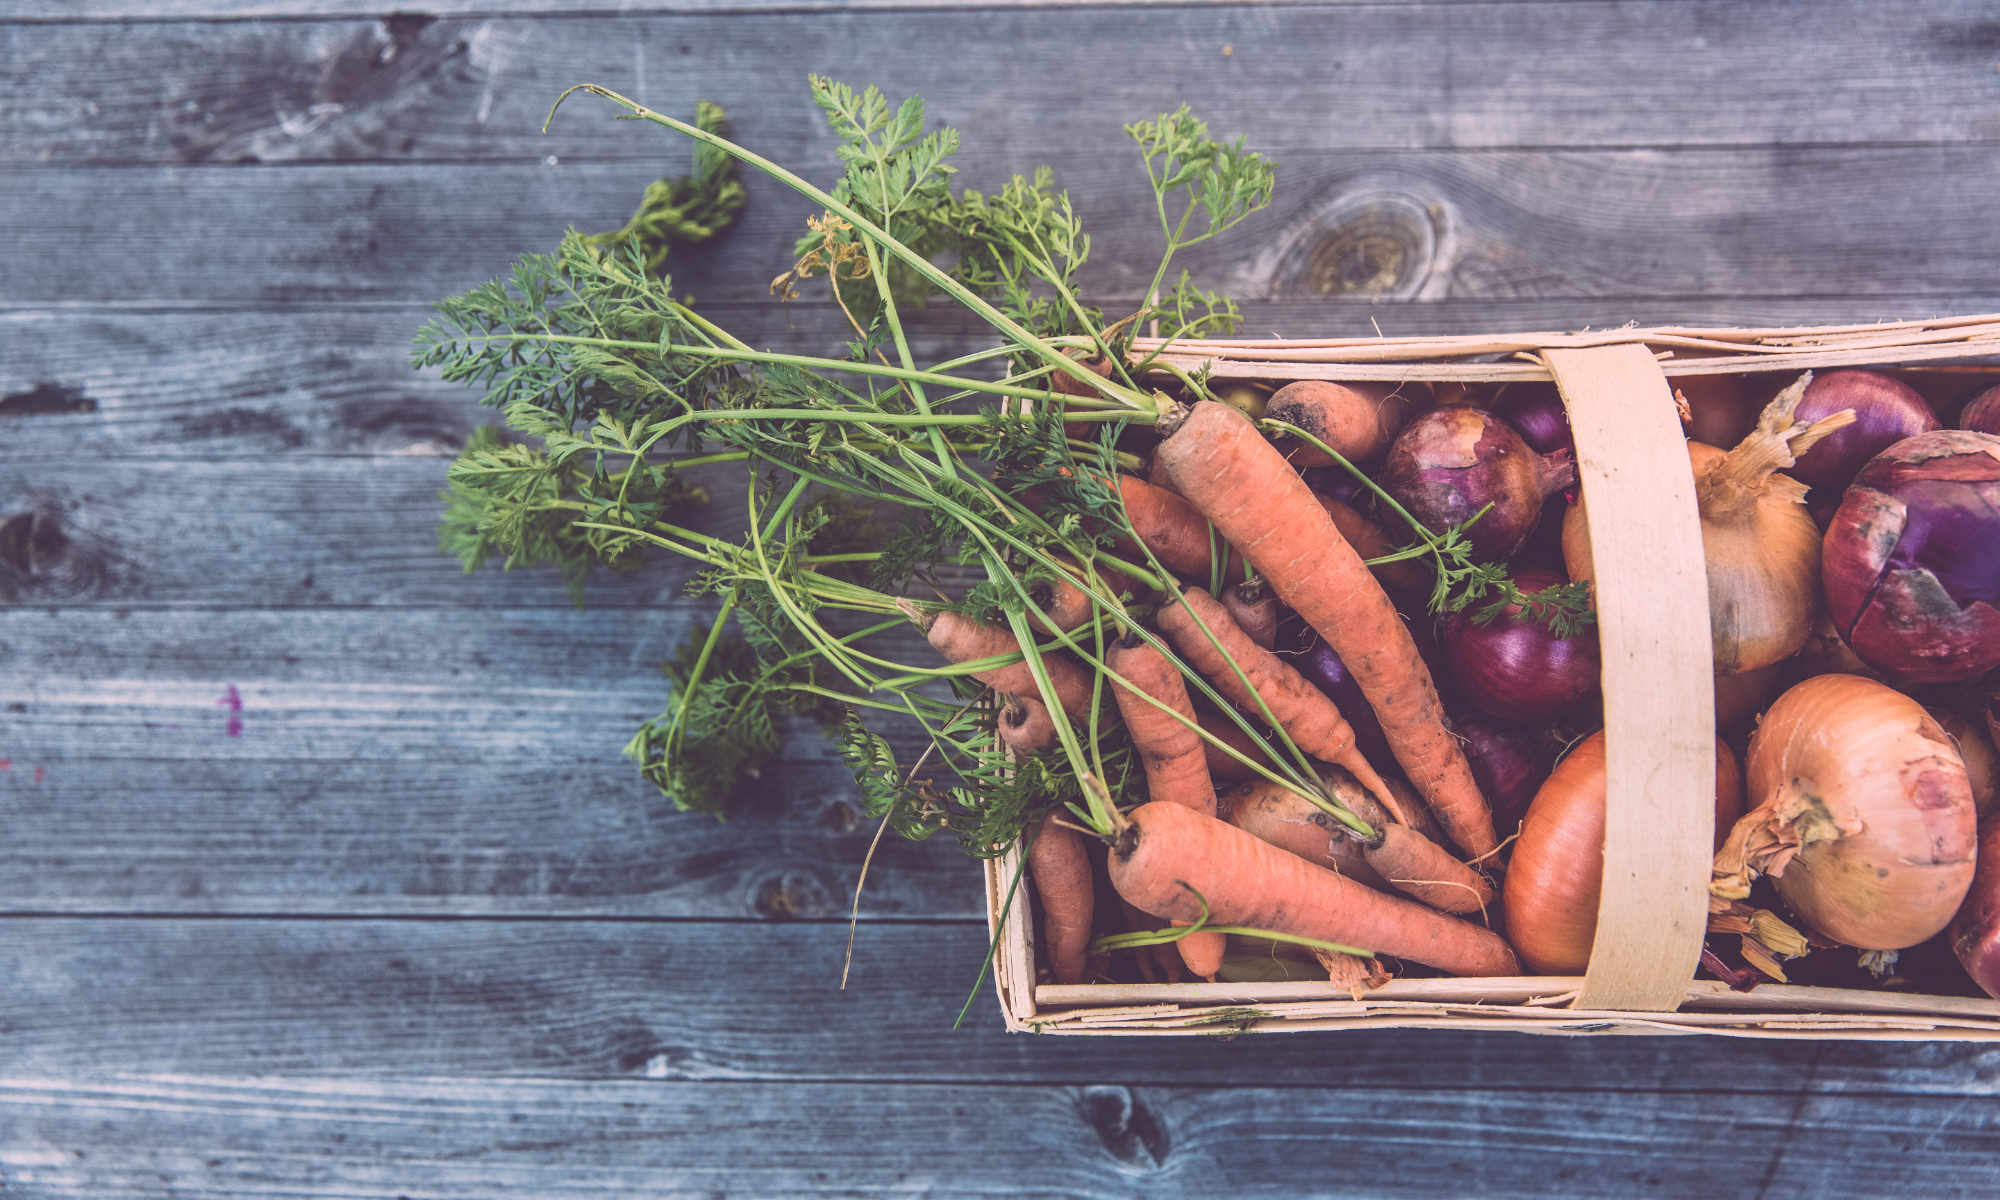
- Choose your natural dye ingredients. Some common ingredients include: red cabbage (for blue dye), beets (for pink or red dye), turmeric (for yellow dye), onion skins (for orange, brown or lavender dye), and spinach (for green dye).
- Hard boil your eggs and let them cool.
- Prepare your natural dyes by simmering your chosen ingredients in water for 15-30 minutes until the desired color is achieved. The color of the dye should be a few shades darker than you want the finished egg to be. Strain out any solids.
- Add 1 tablespoon of vinegar to each cup of dye to help the color adhere to the eggs.
- Dip your eggs into the dye and let them sit until the desired color is achieved. You can leave them in for a few minutes to a few hours. If you going to be leaving the eggs in the dye for a long period of time, be sure to let them soak in the fridge.
- Remove the eggs from the dye and let them dry. You can place them on a wire rack or use a paper towel to blot away any excess moisture.
- Display your beautiful, naturally dyed Easter eggs and enjoy! (Be sure to refrigerate eggs if you are planning to consume them!)
Common Natural Dye Ingredients
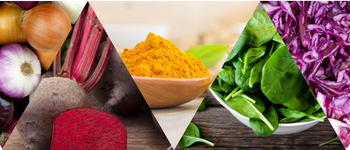
Here are some common natural ingredients for dyeing Easter eggs and the colors they produce:
- Red/pink: beets, raspberries, cranberries, pomegranate juice
- Orange: yellow onion skins, paprika
- Yellow: turmeric, saffron, carrot tops, chamomile tea
- Green: spinach, parsley, cilantro, nettle tea
- Blue: blueberries, red cabbage leaves, blackberries, purple grape juice
- Purple: red onion skins, hibiscus tea, blackberries
- Brown: coffee, tea, walnut shells
The final color is dependent on whether you use white or brown eggs. Use a mix of both to achieve more color variety!
Get Creative!
If you want to create designs or patterns, you can use stickers, tape and rubber bands to create patterns. Try using natural elements, like leaves, to create a pretty springtime flair. Then, dye the eggs , allow to dry, remove the material you used to create the pattern and reveal your design.
When dyeing eggs with natural materials, keep in mind that the colors may not be as vibrant or consistent as they are with store-bought dye kits. However, the unique and natural colors that you can create are worth the effort. Experiment with different natural materials and techniques to find the perfect colors for your Easter eggs. Happy dyeing!