
One of my clearest food memories is of my Mom’s Deviled Eggs. I can still see the yellow Tupperware container with the special “egg holding” insert that she used. I wouldn’t say she made them all that often, but usually when you saw that Tupperware container come out, you knew there was a party or holiday meal about to happen!
Mom’s eggs were DELICIOUS. A little sweet and a little tangy, thanks in part to a “miraculous” mayonnaise style condiment that was pretty popular while I was growing up. It probably STILL IS popular with a lot of folks, but with its high fructose corn syrup, fragile and damaged oil and various thickeners and fillers, it’s not something that’s invited into my grocery cart anymore.
So I knew if I wanted to relive that childhood food memory, I’d have to ditch the processed stuff and create my own version. I think they are just as tasty as the one’s I remember eating growing up. Different, but just as good. Well, maybe ALMOST as good because does anything ever taste as good as what Mom made? It’s that “the secret ingredient is love” thing. Pretty sure.
The funny thing about deviled eggs is that they are one of the few foods that really don’t smell all that great (they ARE kinda stinky), but almost everyone loves when they show up at a get together! I’ve taken them to numerous shindigs (they are a great potluck item for those of us avoiding gluten or dairy). When I arrive, I uncover the deviled beauties while sheepishly mumbling an apology for the odor, only to be cut off with excited exclamations by fellow party goers! “Oooo deviled eggs! I haven’t had those in ages!” “Wow! I love these things! I never make them because they are so much work!”
Truth? They are REALLY easy to make. Yeah, they take a bit more effort than grabbing a veggie tray from the supermarket (which there is nothing wrong with, by the way), but they definitely give the impression you put a lot more work in than you did. That’s never a bad thing.
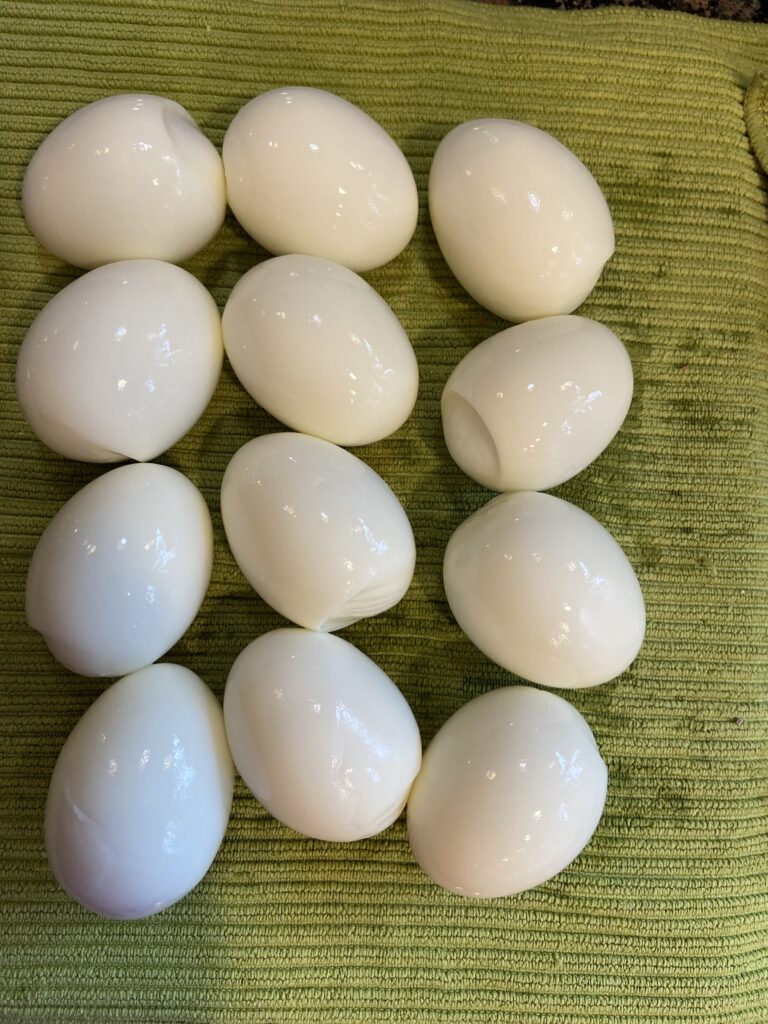
The hardest part of making deviled eggs is getting hard boiled eggs that you can peel easily. There’s not much worse than trying to peel an egg and ending up with something that looks like the dog chewed on it, full of gouges and holes. I’ve found that the Instant Pot makes perfectly peelable eggs EVERYTIME! Feel free to go old school on the stove top, if that’s your style. I have read that fresh eggs don’t peel as easily as older eggs. I’ve never had an issue with the Instant Pot, but if you are boiling on the stove top, maybe buy your eggs a week or so ahead of time.
Alright – enough chit chat! Let’s get to the good stuff! How to make these wickedly good little things!
First step is to boil (or pressure steam) those eggs. I’m going to run with the Instant Pot instructions here, but I have included stove top directions in the recipe card.
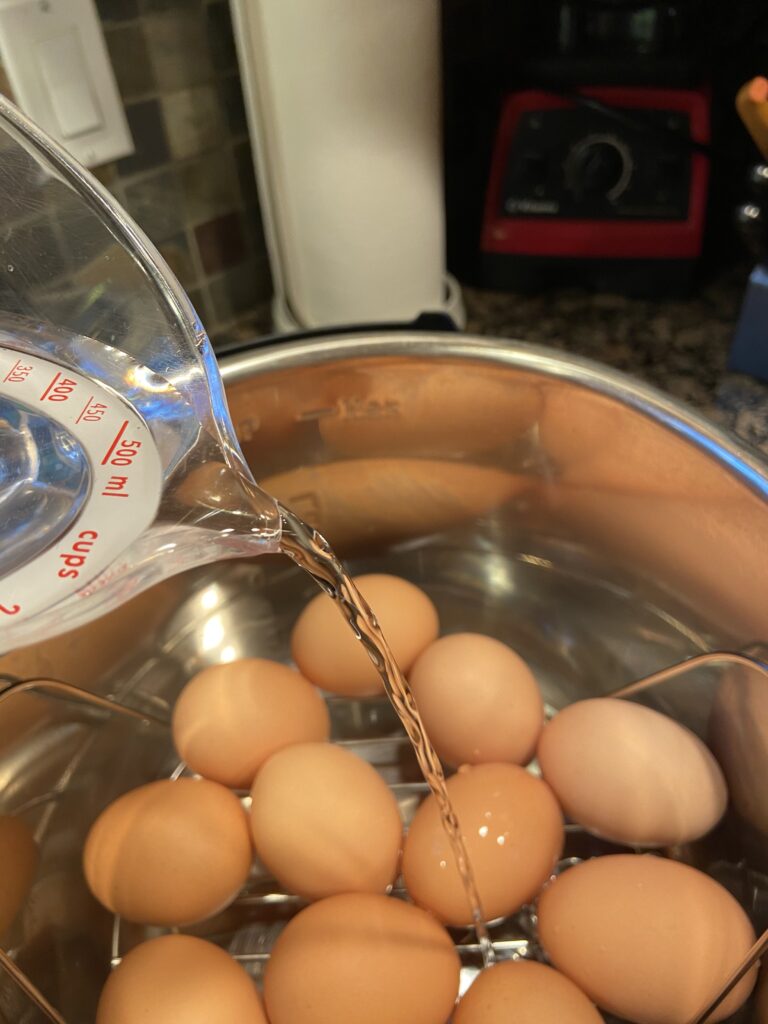
Place your eggs in a single layer on the trivet (rack) of your Instant Pot.
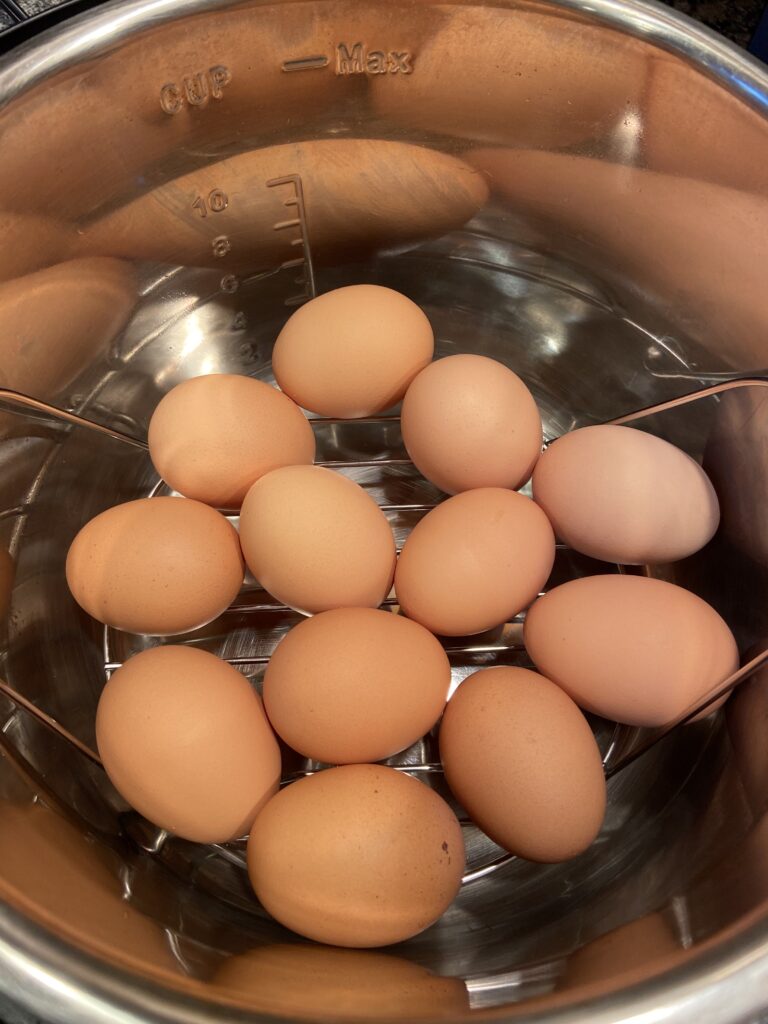
Add 1 cup of cold water to the pot. Place and lock the lid onto the instant pot.
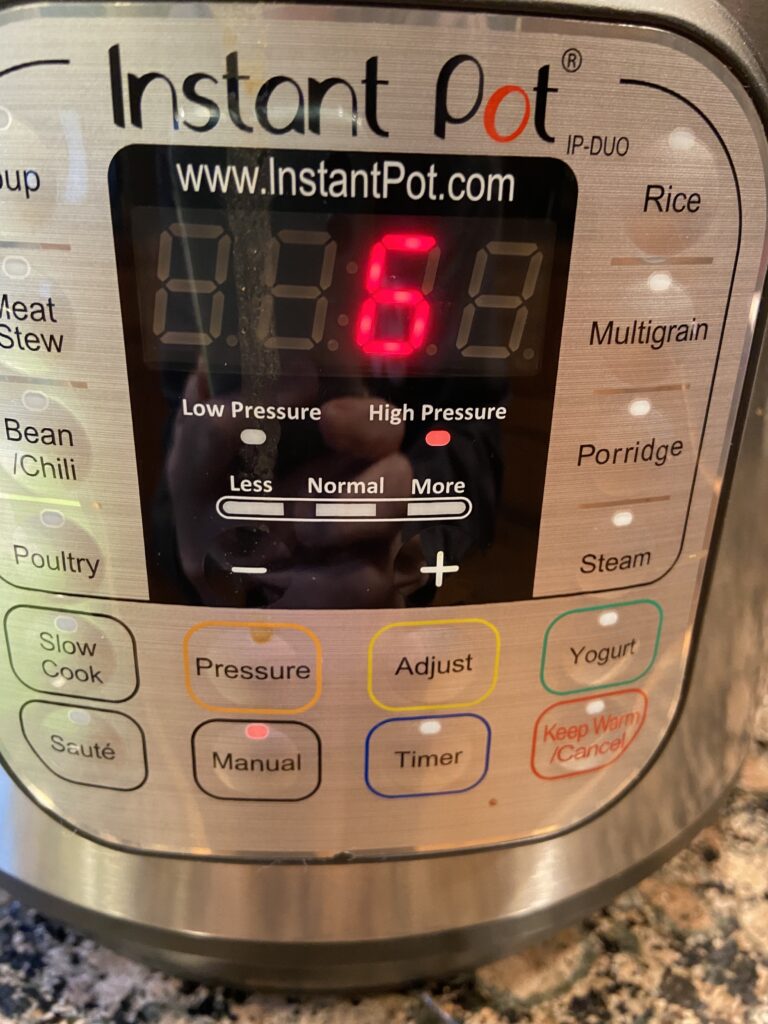
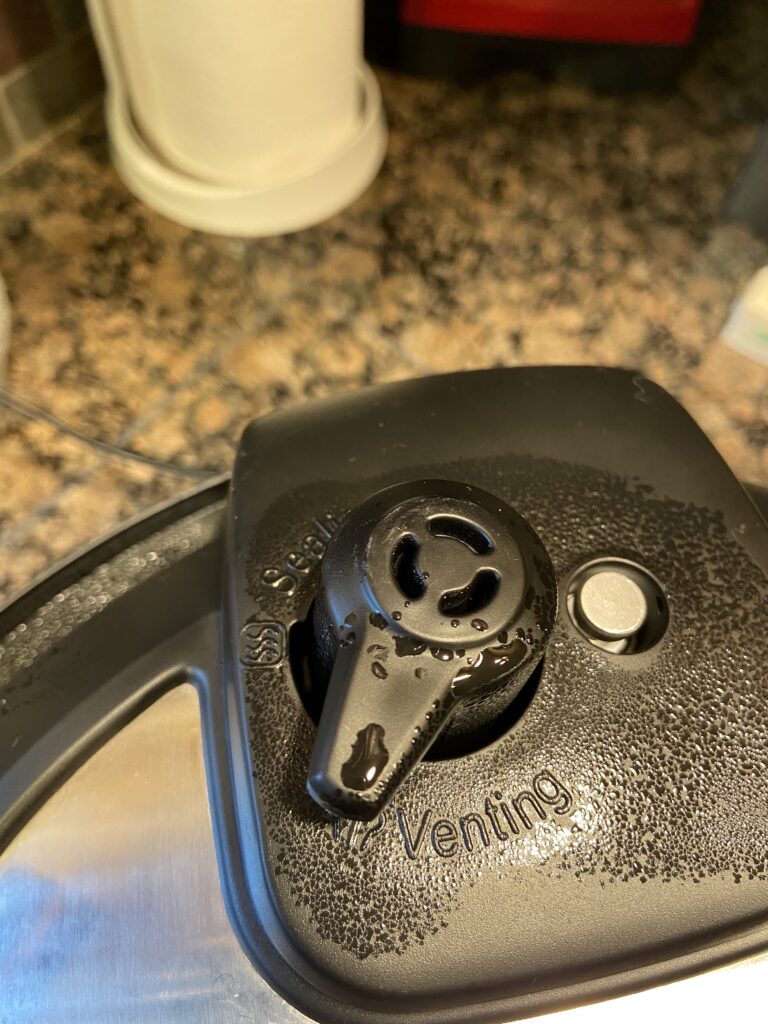
Ensure that the venting dial is set to SEALING and set the timer to 6 minutes under HIGH pressure.

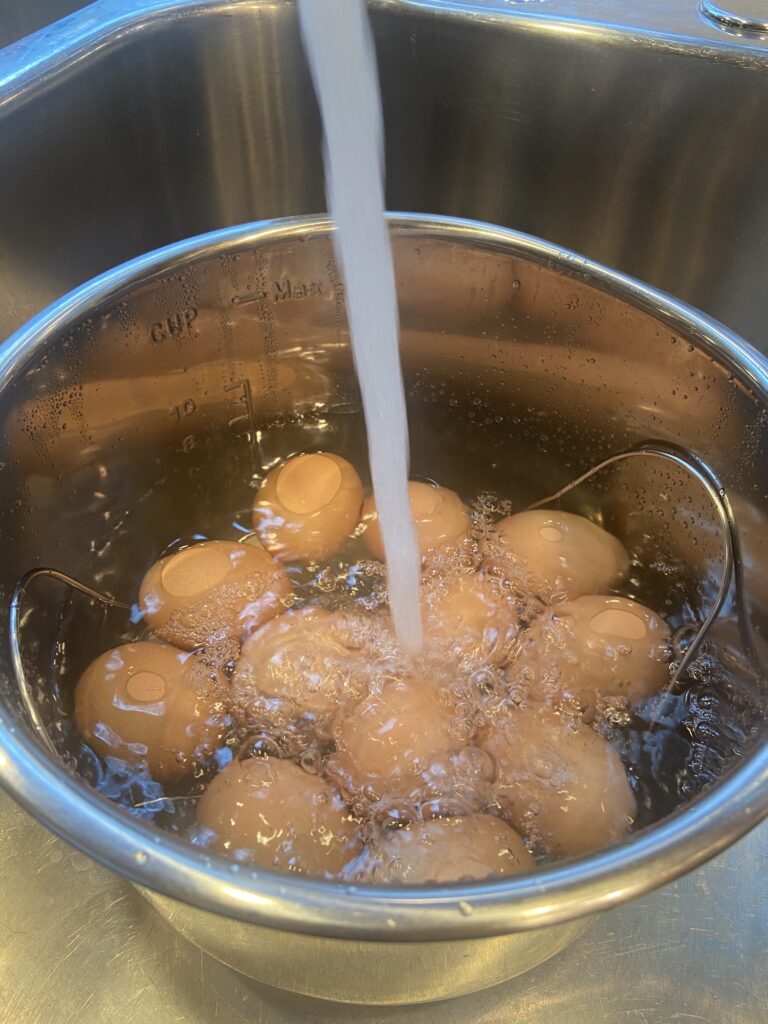
When the timer goes off, immediately turn the venting dial to VENTING, making sure to avoid the high pressure steam that will be released. Once the pressure has lowered enough so that the lid unlocks, you can either remove the eggs to an ice bath or take the lazy person’s way (like me) and use pot holders to lift the stainless steel insert out of the Instant Pot and run cold water over the eggs. Allow the eggs to sit in the ice bath or cool water for about 10 minutes.
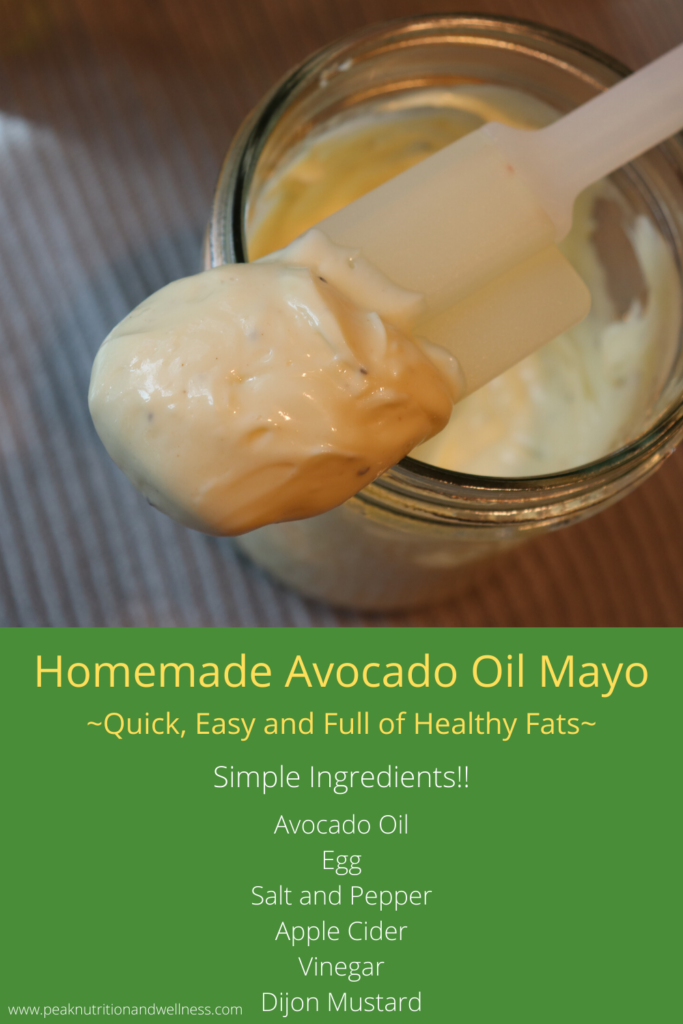
This would be a great time to make your mayonnaise. Click HERE to get my quick, easy and healthy Mayonnaise Recipe. You can use a store bought Avocado Oil or Olive Oil Mayo (just make sure to read those labels carefully!), but avoid any with hydrogenated or partially hydrogenated oils. Damaged, unhealthy fats make damaged, unhealthy bodies!!
Now the fun part! Peel those eggs! It is really SO easy with Instant Pot eggs – total game changer.
Once the eggs are peeled, slice each egg in half lengthwise and spoon out the yolks into a separate bowl. Set the whites aside for filling later. (Pro tip from my Mom…cook a couple more eggs than you need and use their yolks in the filling. This gives you a little extra filling to go around. Nobody likes skimpy deviled eggs! You can keep the whites to use in salads etc.)

Mash the yolks up with a fork and then add the mayo, mustard, apple cider vinegar, salt and pepper (if using). The measurements I give in the recipe are to my taste. I’d advise that, instead of dumping everything in, add the ingredients separately (even a bit at a time) mixing well in between and taste as you go. Depending on your own palate, how big your yolks are and even how thick your mayo turned out, you may want to adjust quantities a bit.

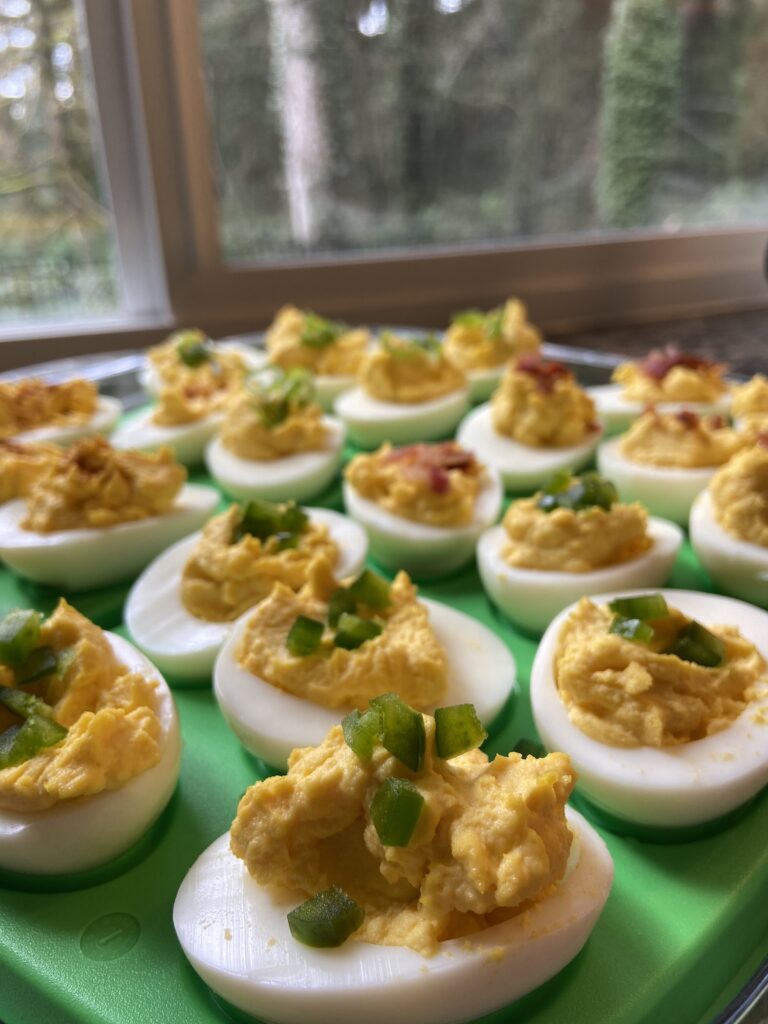
Once you’ve got the filling mixed so it’s smooth, fluffy and tasting great, spoon the mixture back into the yolk divots in the whites you set aside. You can get fancy and use a piping bag, but spooning it in with a teaspoon is quicker, easier and you don’t lose a whole bunch of your delicious filling on the sides of the bag.
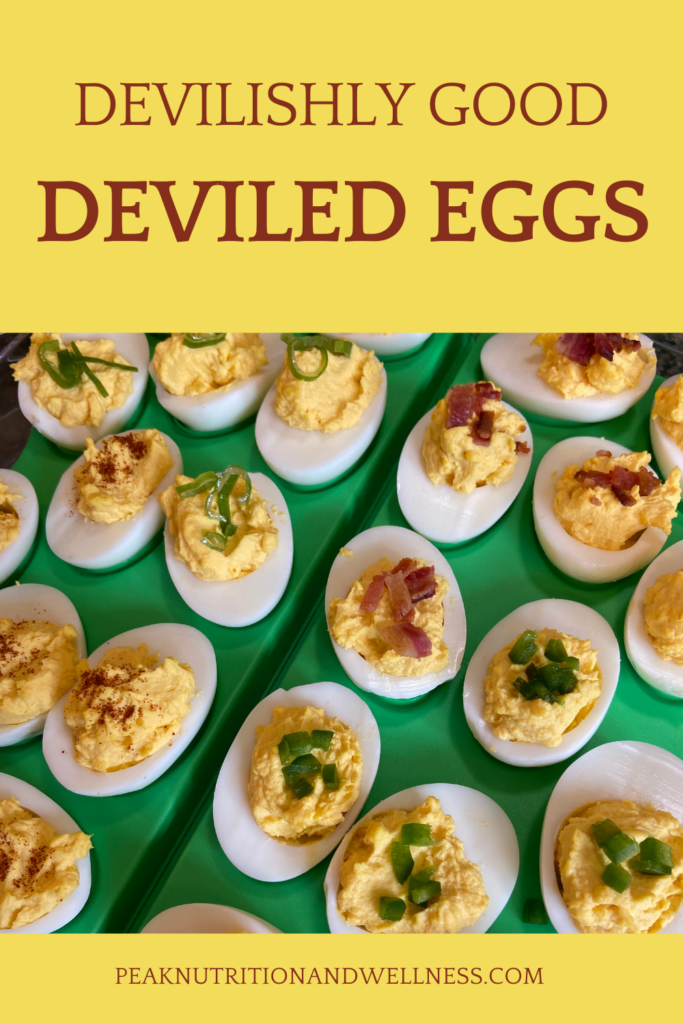
Once filled, let your creativity flow and garnish those bad boys with whatever floats your boat. Bacon, chives, scallions, dill, jalapeño, smoked salmon, paprika, kimchi(pat it dry first!)… the options are endless.
Chill until serving. Keeps well, covered, in the fridge for 3 to 5 days. Enjoy! Let me know what topping you like on your devilled eggs in the comments!
If you want to find out more about the incredible, edible egg, check out my previous TRILOGY of posts on eggs!
Part 1 – What Do All Those Labels on Egg Cartons Really Mean?
Part 2 – Common Myths and Misconceptions about Eggs
Part 3 – The Nutritional Value of the Humble Egg
| Prep Time | 30 minutes |
| Servings |
deviled eggs
|
- 12 eggs pasture raised preferable
- 1 cup water
- 1/2 cup mayonnaise, avocado or olive oil based link to recipe in notes below
- 2.5 teaspoonsful Apple Cider Vinegar
- 1/2 teaspoonful mustard can use dijon or yellow, depending on preference
- 1/4 teaspoonful sea salt
- 1/4 teaspoonful pepper optional (can use black OR white pepper)
Ingredients
|
|
- Place the eggs in a single layer on the trivet in your Instant Pot.
- Add 1 cup of cold water to bottom of pot and place and lock lid. Make sure that the steam release valve on the lid is set to "SEALING".
- Turn the Instant Pot on and set it to cook under High Pressure for 6 minutes.
- As soon as the eggs have finished cooking, immediately release the pressure by turning the steam release valve to the "VENTING" position. (WARNING! Pressurized steam is HOT! Keep clear of the valve until pressure has released! You may also want to make sure your instant pot isn't directly under cabinetry so the steam does not damage the wood).
- Once the pressure releases to the point that the lid unlocks, carefully remove lid. Use tongs to transfer the eggs from the Instant Pot to an ice bath. Alternatively, you can remove stainless steel insert (using pot holders), place it in sink and run cold water over the eggs. Once cooled (about 10 minutes), you can store them in the fridge for about a week or, peel and use them immediately.
- Place the eggs in the saucepan in single layer and cover with cold water. The water should cover the eggs by at least an inch.
- Set burner to medium high heat and bring to a boil.
- Once the water reached the boil, cover and remove from heat.
- Let stand for 10 minutes.
- Drain and cool in an ice bath for approximately 10 minutes. Alternatively, you can place pot in sink and run cold water over the eggs. Once cooled, you can store them in the fridge for about a week or, peel and use them immediately.
- Peel eggs and slice them in half lengthwise, dropping the cooked yolks into a small bowl and reserving the cooked whites to fill later.
- Once all the eggs are halved and the yolks removed, use a fork to mash up the yolks. Add the mayonnaise, mustard, vinegar, salt and pepper(optional).
- At this point, taste your mixture and make any adjustments to suit your preferences.
- Spoon mixture into the hollowed out eggs whites and garnish as desired (see suggestions below!).
Keep covered and chilled until serving. Keeps 3 to 5 days, covered, in fridge.
Plan to cook 2 more eggs than you need. The extra yolks will ensure you have ample filling and you can save the whites and use them later in a salad (or just eat them as a snack!).
GARNISH IDEAS - Let your imagination run wild! The possibilities are endless!
- Paprika (old school standard) - regular or smoked
- Bacon
- Dill
- Jalapeno
- Radish
- Scallion or Chives
- Kimchi
- Smoked Salmon