
Winter is certainly one of the prettiest seasons, but its frosty landscapes come with specific challenges, especially for our immune system. Beyond the enchanting snowfalls lie factors that can impact our well-being. From the dynamics of indoor gatherings to the scarcity of sunlight, each element plays a role in testing the resilience of our immune defenses.
While we can catch illnesses at anytime of year, winter certainly seems to bring with it more than it’s fair share of sick days. This makes sense when we think about how both the weather and our activities change during the colder months.

Closer Contacts
We spend a lot more time indoors and in closer contact with other people when the temperatures dip. The extra social gatherings around the holidays also increases how many different people (and their germs) we are exposed to. This, along with the closer quarters, are prime conditions for illnesses that are transmitted through droplets. Commit to bundling up and getting outside for a dose of fresh air (and maybe a much needed break from those relatives!).
Less Sunlight
Not only are the days shorter in winter but, depending on where you live, freezing temperatures make it a lot less tempting to get outside and enjoy some sunshine. Vitamin D, which our bodies make when we expose our skin to sunlight is an essential nutrient for the proper functioning of the immune system (it also plays an important role in keeping our moods bright during the winter months). While it’s difficult to dress warmly AND get enough skin exposure to make the Vitamin D in the winter, there are other ways to support your Vitamin D levels. Introduce foods into your diet that are rich in Vitamin D. Fatty fish, like salmon and mackerel, egg yolks and mushrooms are some options. Taking a vitamin D supplement is often the easiest way to ensure adequate levels (I recommend getting your Vitamin D level tested to see what amount of supplementation is necessary). You can read more about Vitamin D and Vitamin D deficiency here.
But It’s a Dry Cold
Cold winter air holds less moisture than warmer air. Add in the drying effects of the forced air from furnaces and our skin and mucus membranes pay the price. The membranes that line our nasal passages and respiratory tract are like the first line of immune defense. When we breathe in this drier air and these membranes dry out, they become more susceptible to small tears and cracks, allowing invasion from the viruses and bacteria that are just waiting for a weakened point of entry. A humidifier can help lessen the impact of the drier air. Saline nose sprays or lubricating gels can also provide relief for dry nasal passages.
Maybe Mom Was Right!
Do you remember the massive eye roll you’d shoot your mom when she told you to dress warmly or you’d catch a cold? She may have been on to something! A study published in the Journal of Allergy and Clinical Immunology found that cold air damages the immune response in our noses.1 Even a small decrease in air temperature can kill off up to 50% of the helpful bacteria fighting cells and viruses found in the nasal tract. While this was an in-vitro study and more research is needed to determine if what happened in the petri dish actually happens in your cold nose, listen to your mom and put a scarf on!
Nutrition
You knew I’d sneak nutrition in there! With the cold weather comes the yearning for warm, “stick to your ribs” comfort food. These foods can tend to be high in starches and lacking in the nutrients we need to support our immune system. And let’s not forget all the holiday treats that are never far from reach at this time of year! High in sugar and empty calories, they certainly aren’t doing our immune systems any favors!
The good news is that there are plenty of delicious, seasonal, immune system supporting foods you can incorporate into your diet in the colder months! By choosing to include some of these foods in your meals on a regular basis, you can keep your immune system humming (and still enjoy a holiday treat or two)!
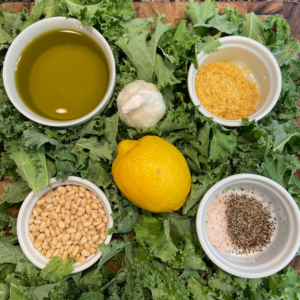
Citrus Fruits: The Vitamin C Powerhouses
Vitamin C is a powerful antioxidant that plays numerous crucial roles in enhancing the immune system. From maintaining our skin and membrane integrity, to supporting the activities of immune cells to enhancing antibody levels, Vitamin C is a vital nutrient for immune health.
Getting more Vitamin C in your diet isn’t hard at all – simply choose from any of the delicious citrus fruits available this time of year – Mandarins, Pomelos, Grapefruits, Limes, Lemons….whatever tickles your fancy.
Eat them as a snack with some nuts or incorporate them into a winter salad or zippy homemade salad dressing!
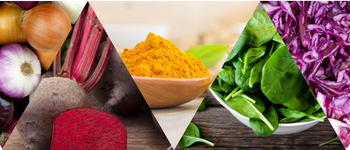
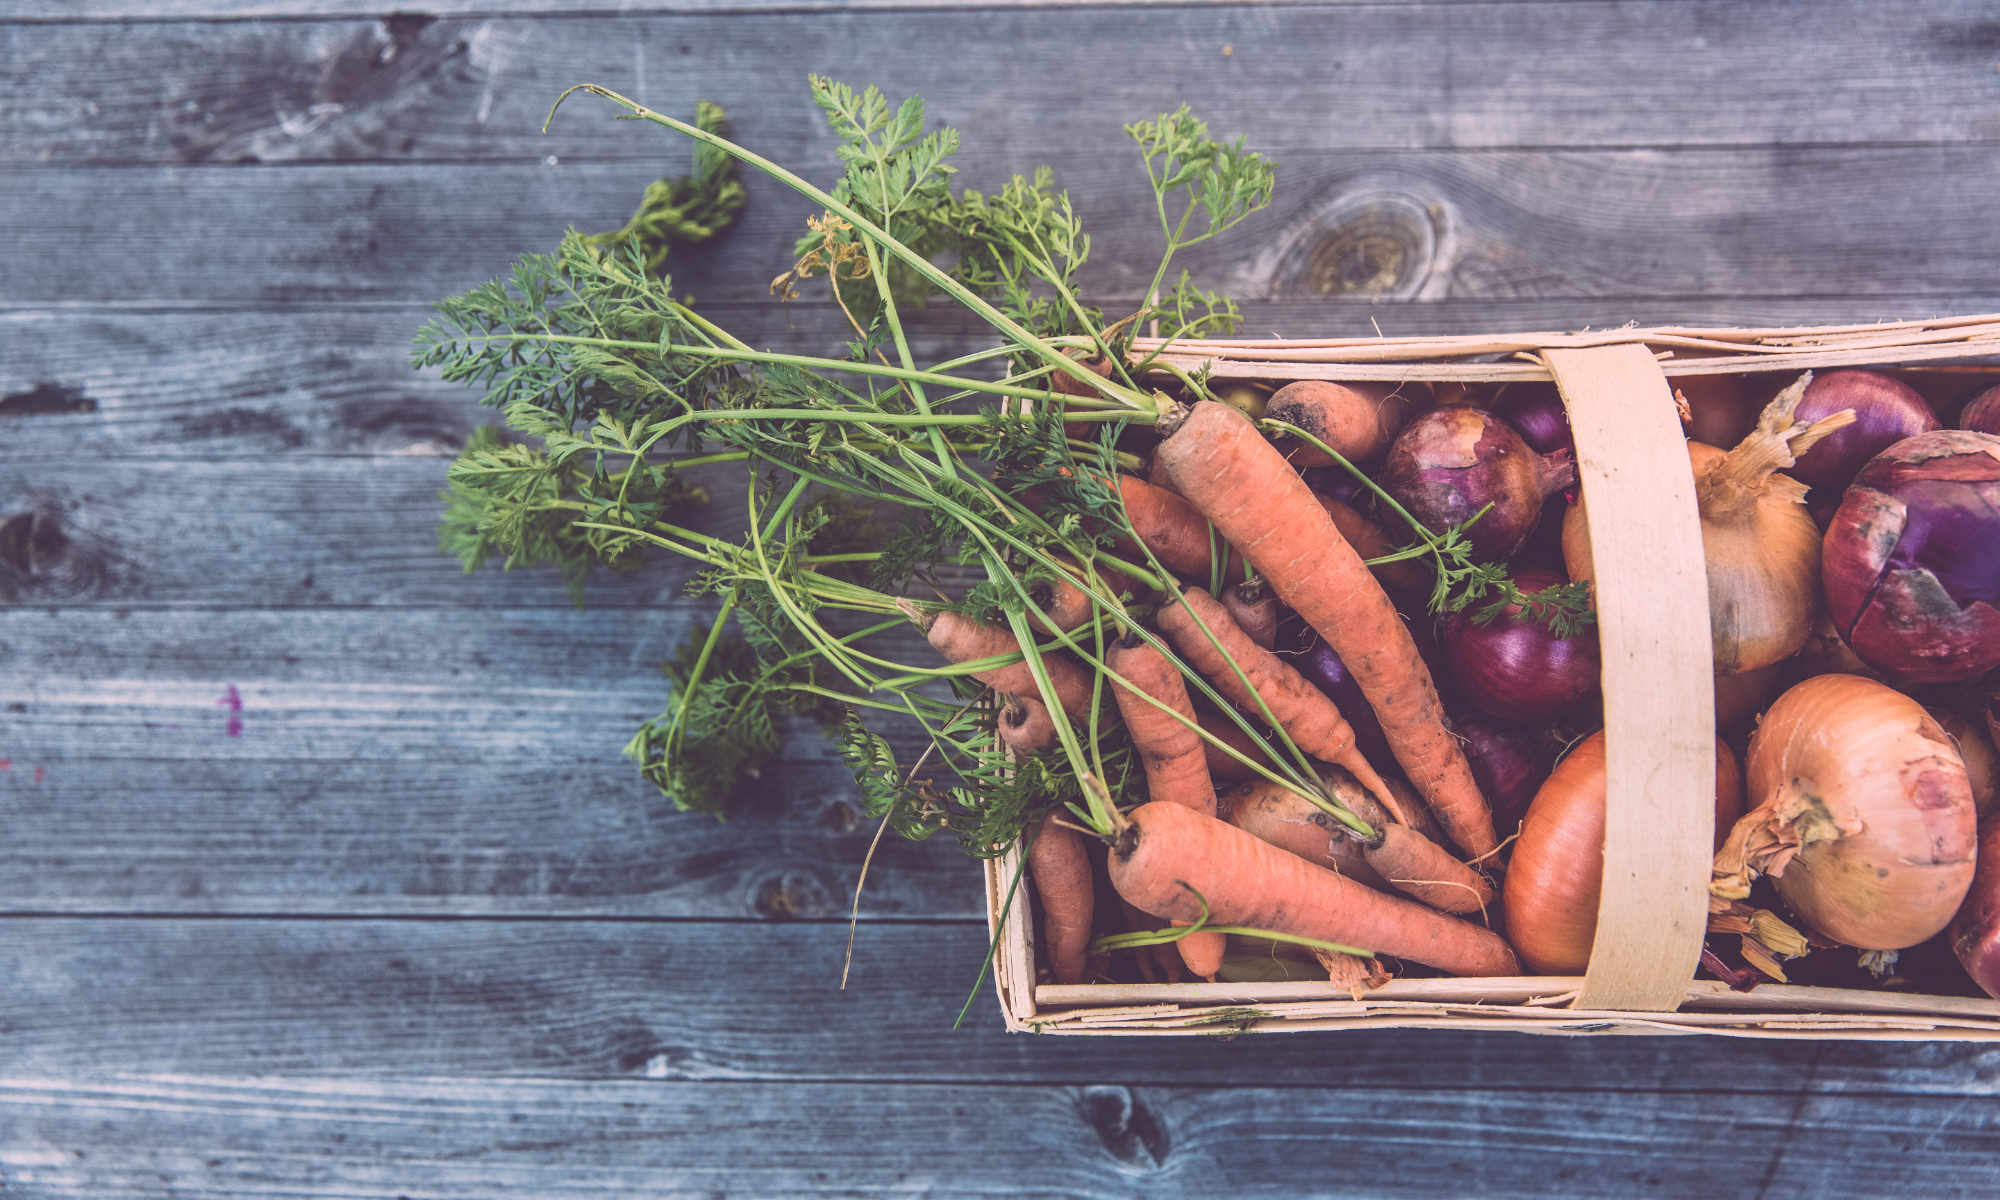
Root Veggies
When it comes to veggies – go back to your ROOTS! Sweet potatoes, beets, carrots, turnips, parsnips – it’s hard to get bored with the variety available!
Not only do these vegetables contain vitamins, like vitamin A and C, and other nutrients that are needed for immune health – they are also a great source of fiber.
We know that fiber is important for good digestion and gut health, but did you know that roughly 70% our your immune system resides in your gut?
Fiber feeds the “good” bacteria in our intestines and, in turn, these bacteria help our immune system’s T cells develop.2 These beneficial bacteria also produce short chain fatty acids, which nourish the cells of the colon. A stronger gut = a stronger immune system!
Root veggies are tasty and versatile – add them to soups or stews (always a cold weather favorite), roast them in the oven or serve them mashed with a little grass fed butter!
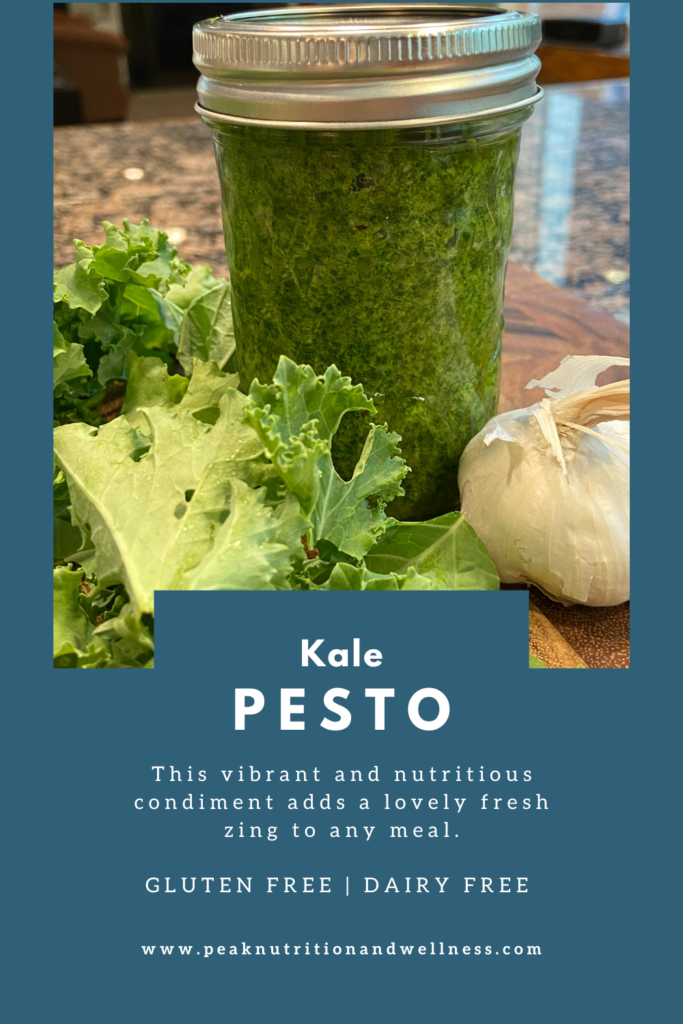
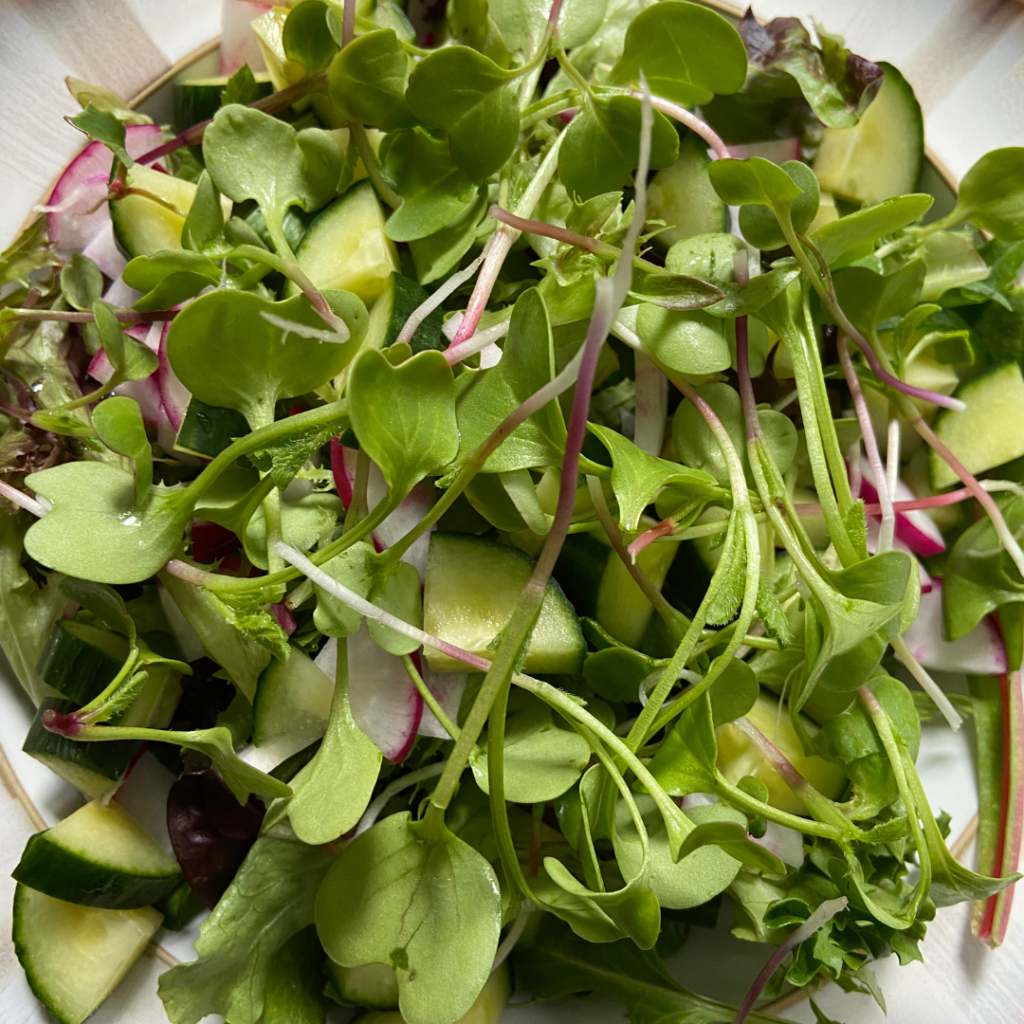
Dark Leafy Greens
Not to sound like a broken record, but consuming a variety vegetables is one of the best things you can do to support your immune health!
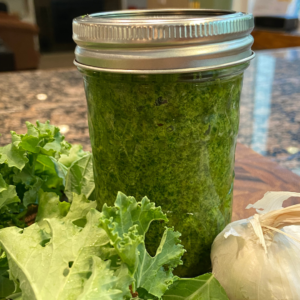
Like those root veggies, dark green veggies, like spinach and kale also contain immune loving Vitamins A and C and the oh-so-important fiber. They also contain good amounts of Vitamin K and folate, both of which are important in immune system support.
Eat them raw in a salad, saute them with garlic (another immune fave) or roast them into delicious, crispy “chips”!
*Note: Another function of Vitamin K is the production of blood clotting factors. If you are on a blood thinner, like warfarin, consult your health care provider before making any changes to the amount of leafy greens you are consuming.
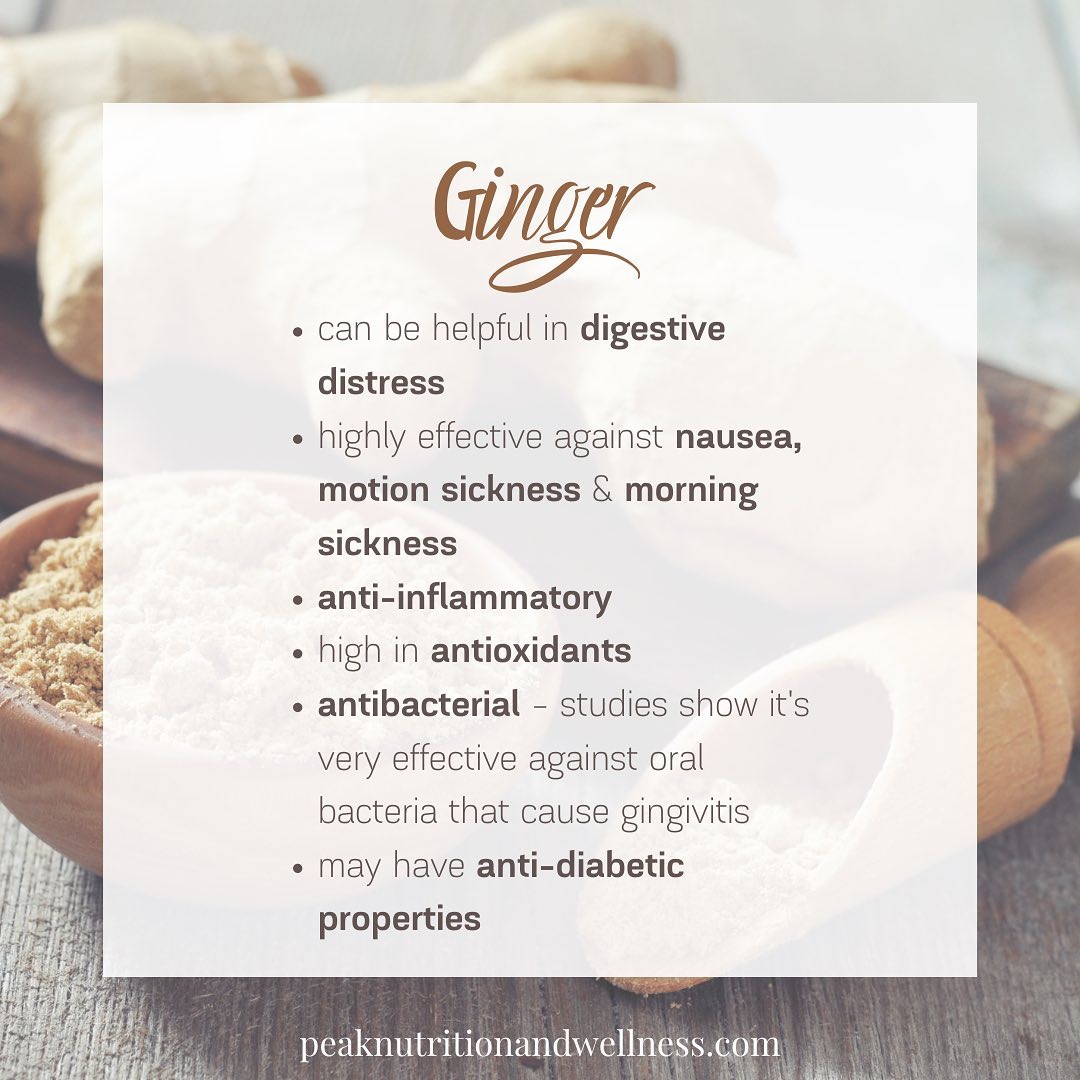
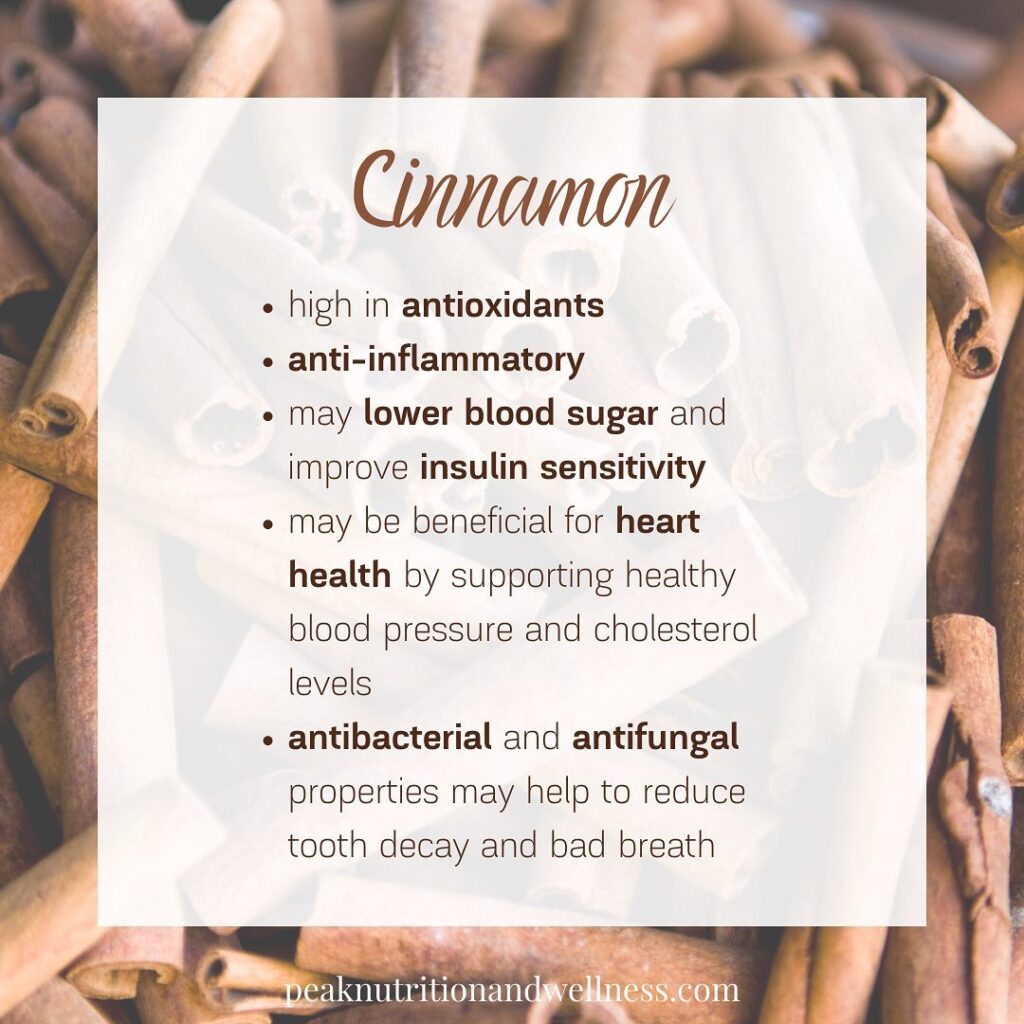
Spice It Up
Winter spices, like ginger, cinnamon and, yes, garlic not only make delicious additions to your winter meals, they may help keep doctor away too!
Studies of the active components of garlic, ginger and cinnamon have shown antibacterial, antiviral and anti fungal effects.3,4,5,6
Hydration Matters
It’s not uncommon to let hydration lag in the colder months. The idea of a quenching glass of water just isn’t as appealing. Combine that with the drying effects of indoor heating and we run the risk of getting dehydrated.
Adequate water is necessary for transporting nutrients (like those needed to support the immune system), removing waste from the body, aiding communication between cells and is important for a well functioning lymphatic system. Along with transporting immune cells throughout the body, a well functioning lymphatic system removes toxins, wastes and pathogens.
A great way to help boost your hydration and fight the chill in the winter is to consume warming beverages, like teas and bone broth. Bone broth is rich in amino acids, which the immune system needs to function properly and produce infection fighting antibodies. Teas, like the green and black varieties, contain antioxidant polyphenols. Herbal teas lack the caffeine and will be slightly more hydrating than their caffeinated cousins. Try adding slices of ginger or cinnamon to get an extra immune boost!
Bottom Line
When all is said and done, the best way to support your immune system, during winter and year round, is to consume a diet that is primarily whole foods. Not only will you reap the benefits of all the immune supporting nutrients and fiber that occur naturally in these foods, you will be limiting the sugar and processed foods that can work against your “bug” fighting capabilities!
Sources:
- Huang, D., Taha, M. S., Nocera, A. L., Workman, A. D., Amiji, M. M., & Bleier, B. S. (2023). Cold exposure impairs extracellular vesicle swarm-mediated nasal antiviral immunity. The Journal of allergy and clinical immunology, 151(2), 509–525.e8. https://doi.org/10.1016/j.jaci.2022.09.037
- Shim, J. A., Ryu, J. H., Jo, Y., & Hong, C. (2023). The role of gut microbiota in T cell immunity and immune mediated disorders. International journal of biological sciences, 19(4), 1178–1191. https://doi.org/10.7150/ijbs.79430
- Oriola, A. O., & Oyedeji, A. O. (2022). Plant-Derived Natural Products as Lead Agents against Common Respiratory Diseases. Molecules (Basel, Switzerland), 27(10), 3054. https://doi.org/10.3390/molecules27103054
- Sun, L., Rogiers, G., & Michiels, C. W. (2021). The Natural Antimicrobial trans-Cinnamaldehyde Interferes with UDP-N-Acetylglucosamine Biosynthesis and Cell Wall Homeostasis in Listeria monocytogenes. Foods (Basel, Switzerland), 10(7), 1666. https://doi.org/10.3390/foods10071666
- Akullo, J. O., Kiage, B., Nakimbugwe, D., & Kinyuru, J. (2022). Effect of aqueous and organic solvent extraction on in-vitro antimicrobial activity of two varieties of fresh ginger (Zingiber officinale) and garlic (Allium sativum). Heliyon, 8(9), e10457. https://doi.org/10.1016/j.heliyon.2022.e10457
- Bhatwalkar, S. B., Mondal, R., Krishna, S. B. N., Adam, J. K., Govender, P., & Anupam, R. (2021). Antibacterial Properties of Organosulfur Compounds of Garlic (Allium sativum). Frontiers in microbiology, 12, 613077. https://doi.org/10.3389/fmicb.2021.613077).
Ready to take on some healthier habits, but don’t know where to start?
Click the button below to contact me and schedule a free chat to see if my personalized nutrition programs are right for you!